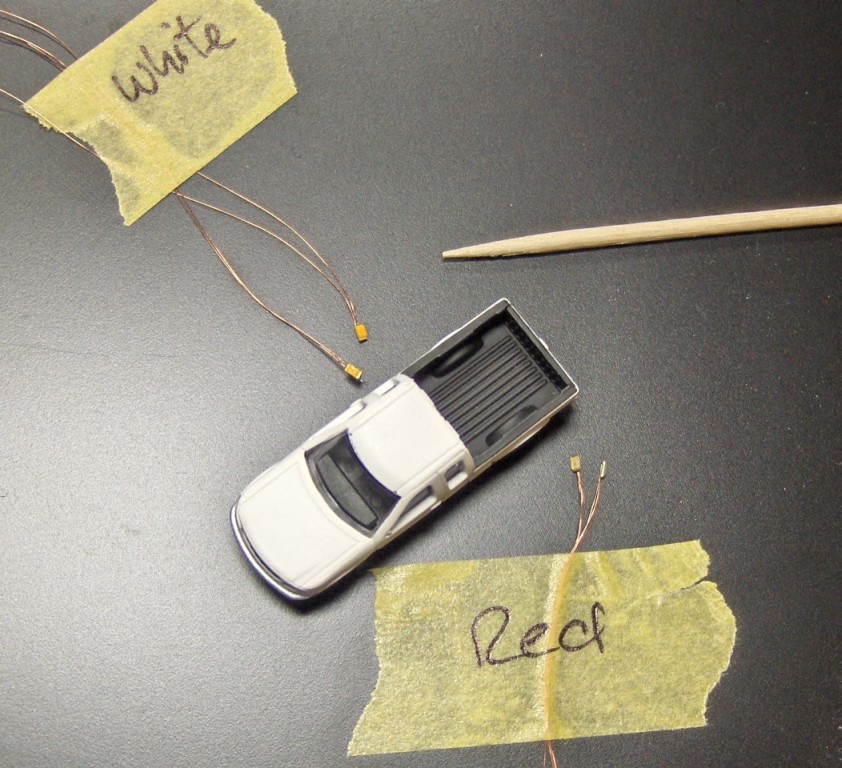
i decided to add lights to another n-scale ford f150. this time lettered for canadian pacific. what else ... on quite a few pictures you will notice an ordinary toothpick for size comparison. here's the car with the 0603 led that will be installed...
disassemble the car, remove the red tail lights. we don't need them any longer.
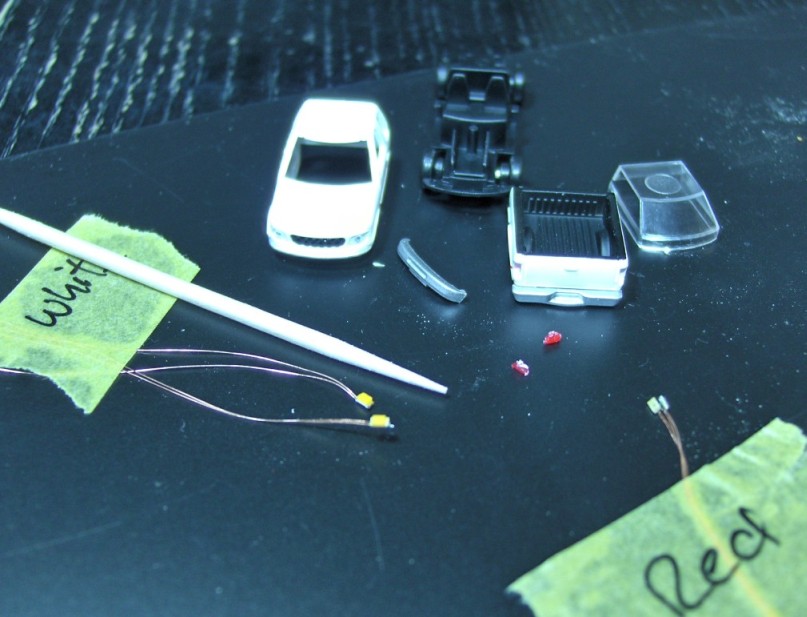
now prepare the area for the front lights. unfortunately inside the hood this model is quite round. but we need square corners. use a small but sharp knife to cut the corners square. couldn't get better pictures. sorry....
then paint the inside black to avoid light leaking thru the hood. an ordinary pen works just fine.
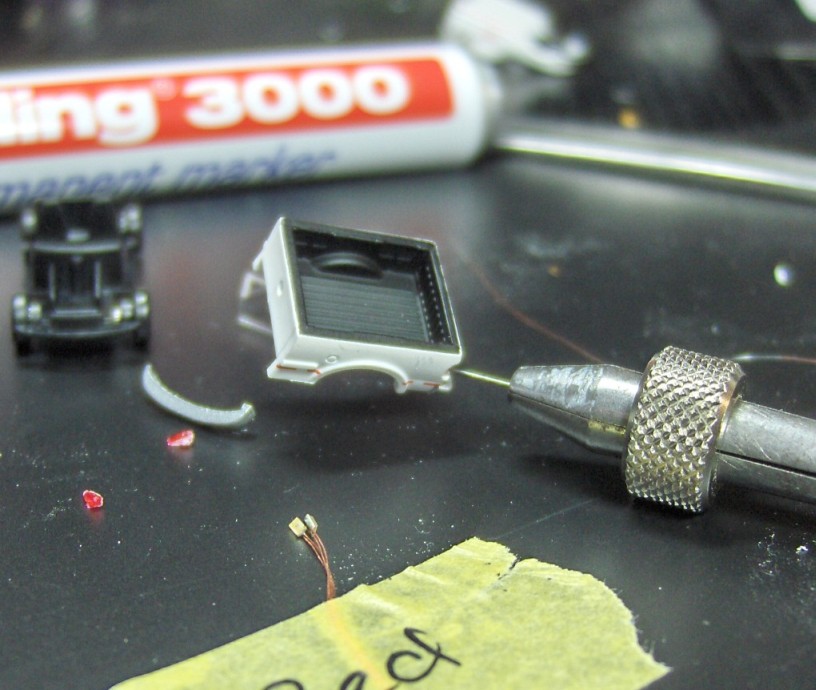
now let's drill the holes for the rear lights. i used a #80 drill. by drilling at this angle i could avoid the wires to be visible on the flat bed.
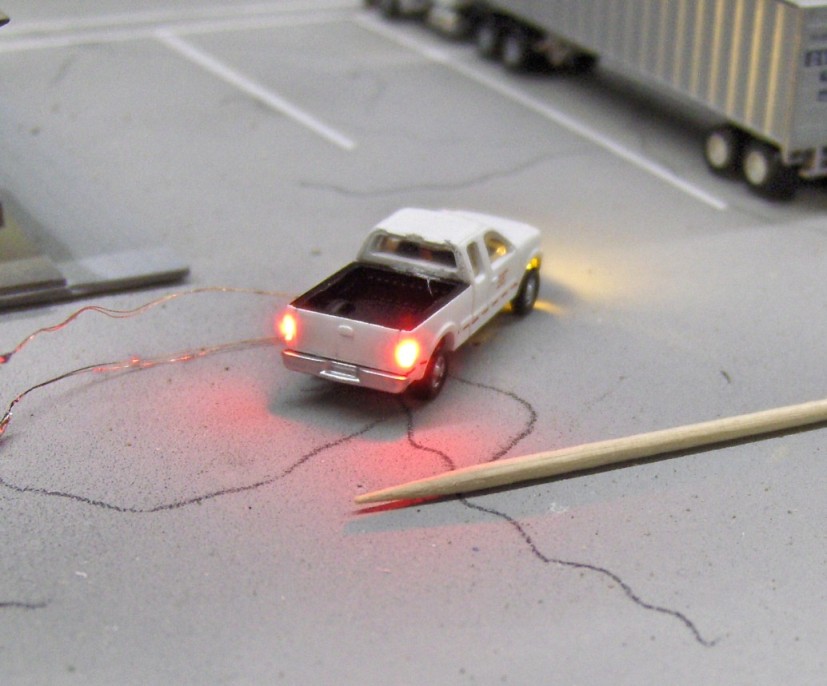
next picture shows the rear lights installed. keep them more or less pointing straight backwards. doesn't matter if they're slightly angled. due to their size no one will notice any angle...
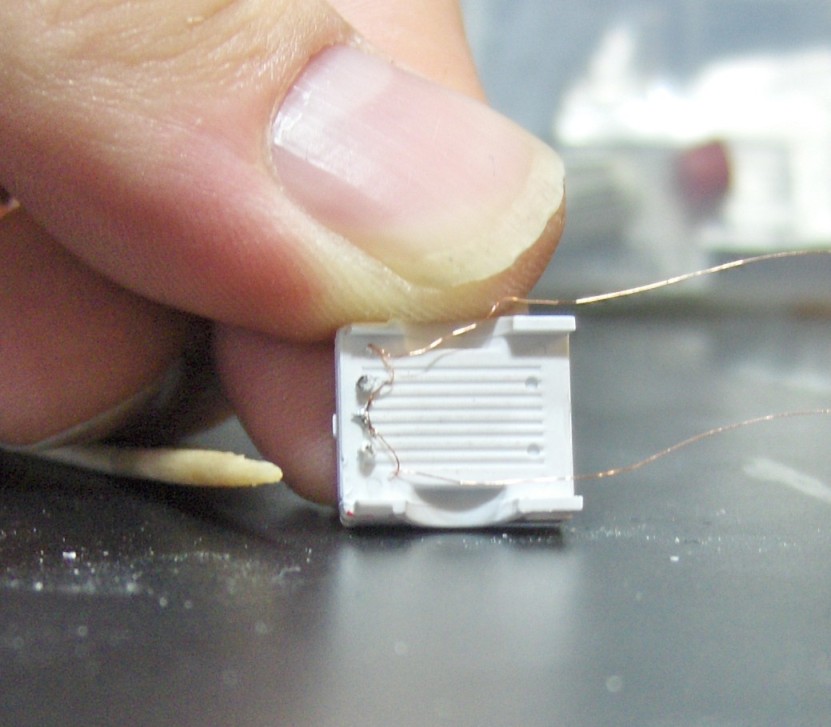
now solder the wires. the (+) of one led goes to the (-) of the other. keep the wires short but take care not to melt the plastic.
another shot with the installed lights. these are my fingers. no godzilla here...
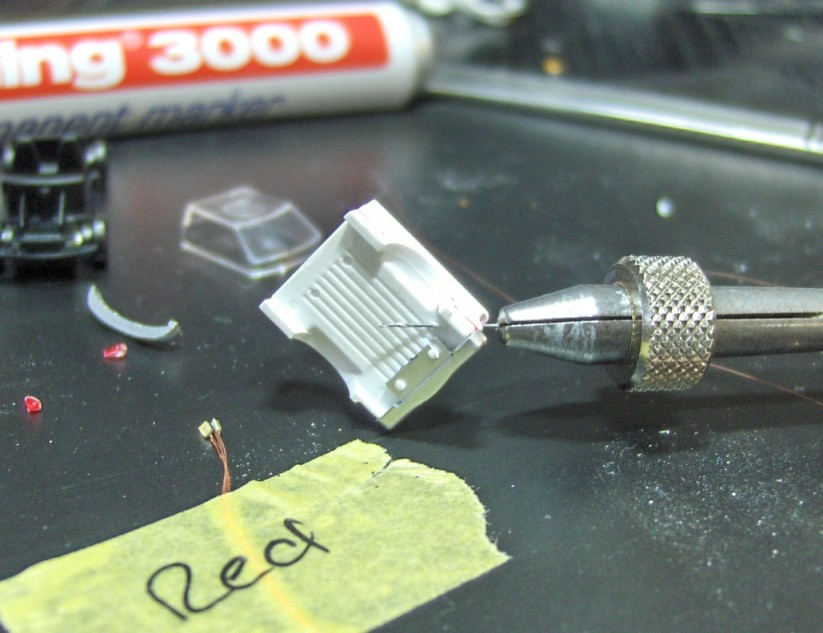
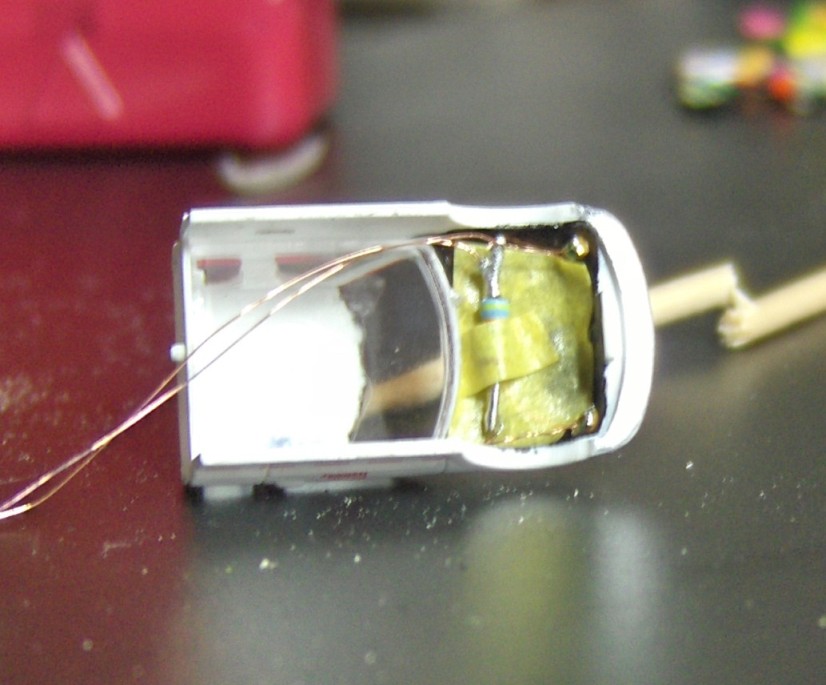
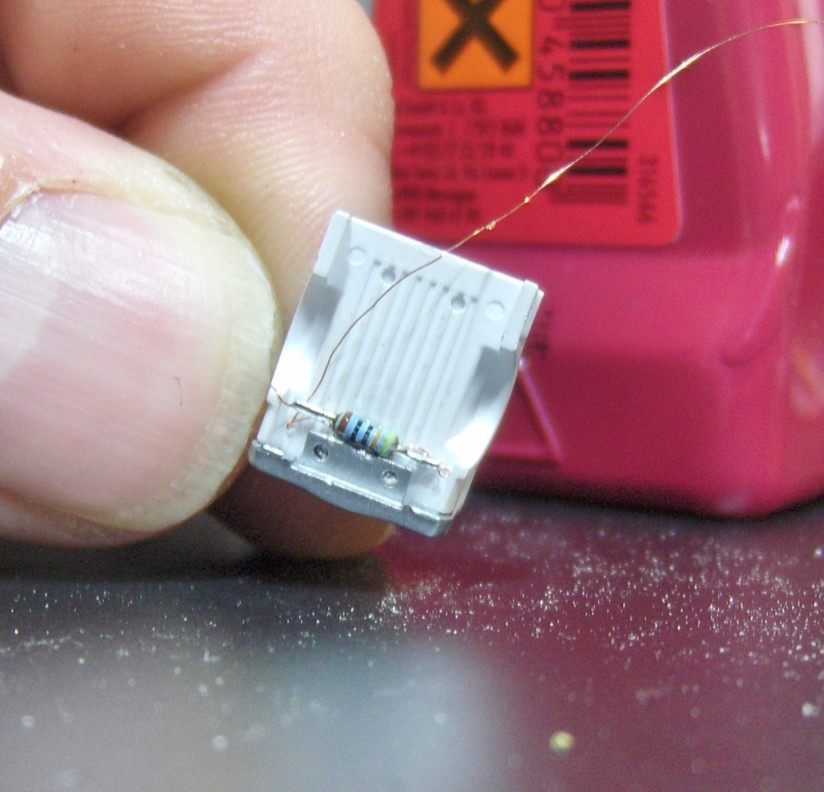
a close up with the resistor (430ohms) installed. took a bit of tamiya masking tape to hold everything in place.
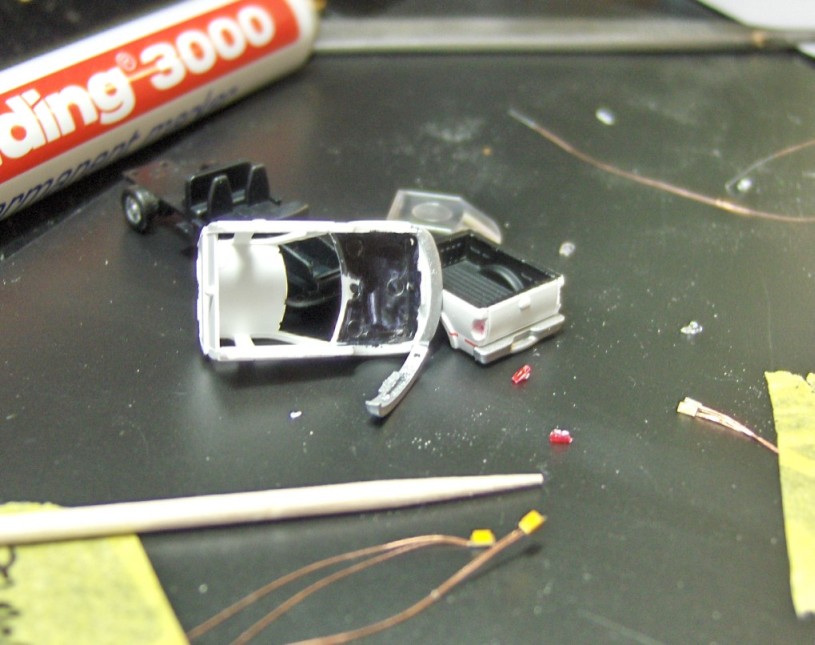
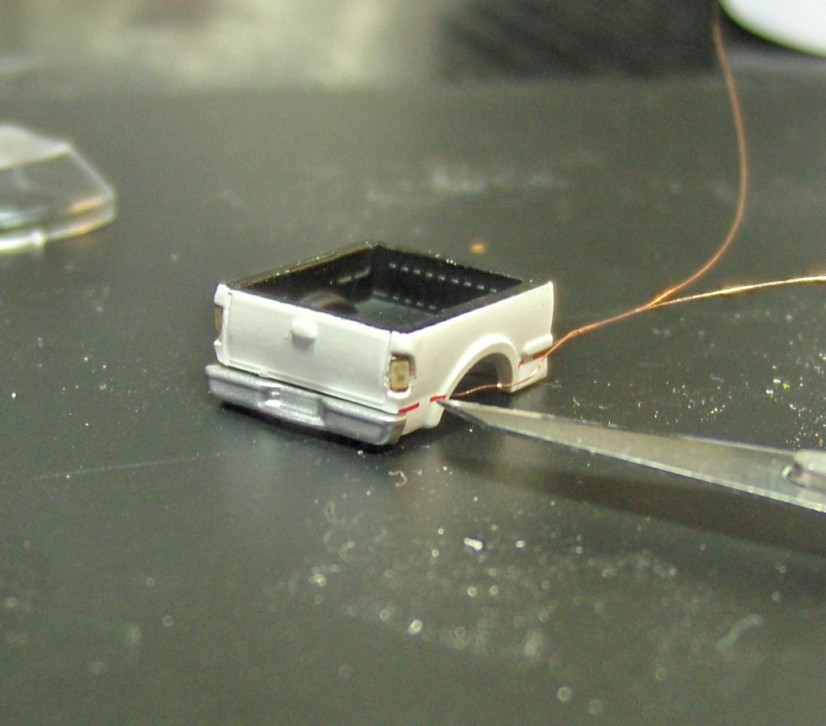
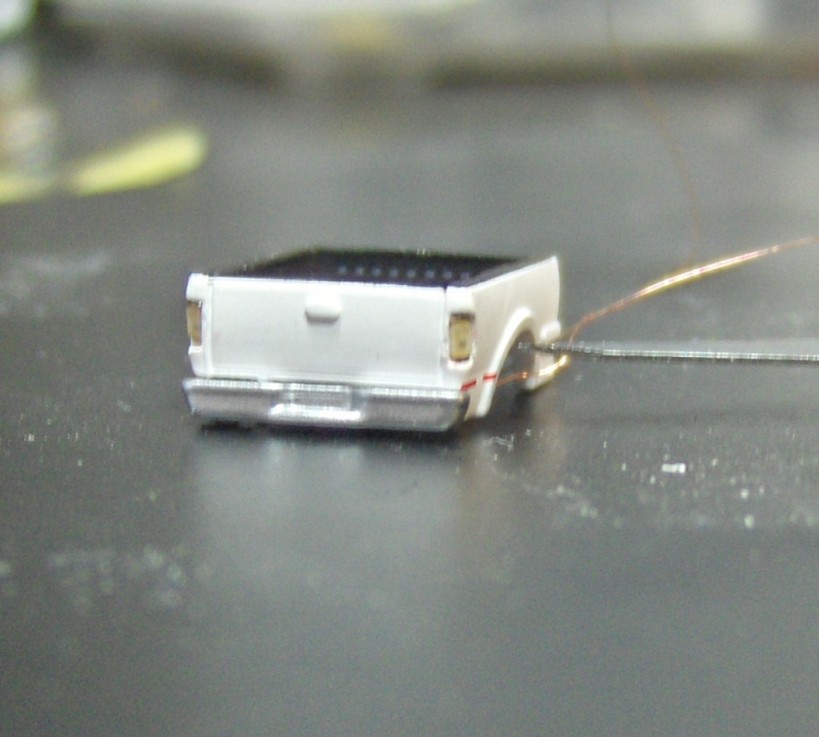
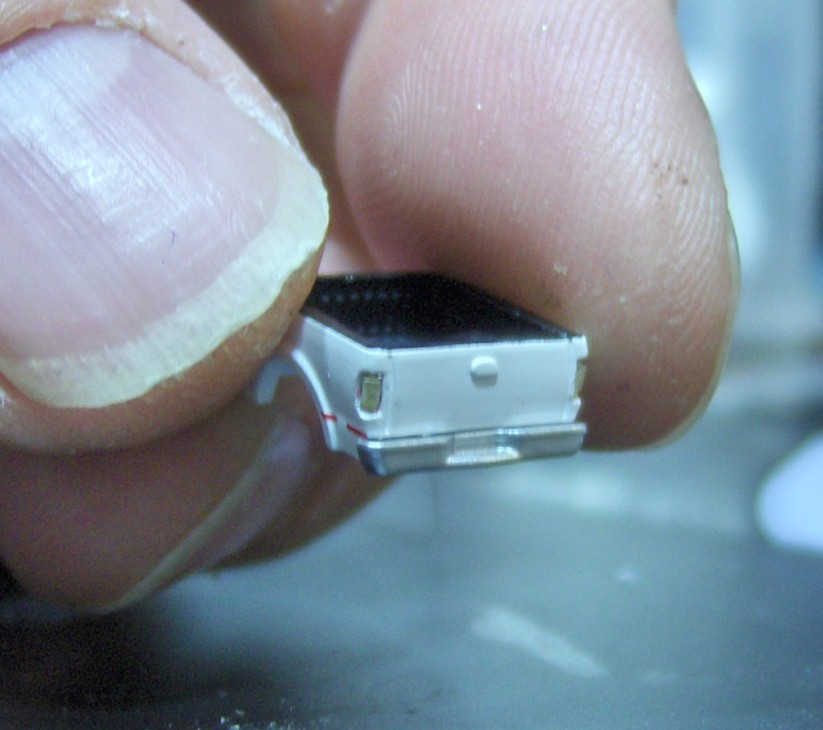
rear end with the resistor in place. you need to cut off the bottom of the truck right behind the rear axle. otherwise the resistor can't be installed in this position.
while disassembled i painted the interior dark blue. cut out the drivers window and installed a driver. front end already installed.
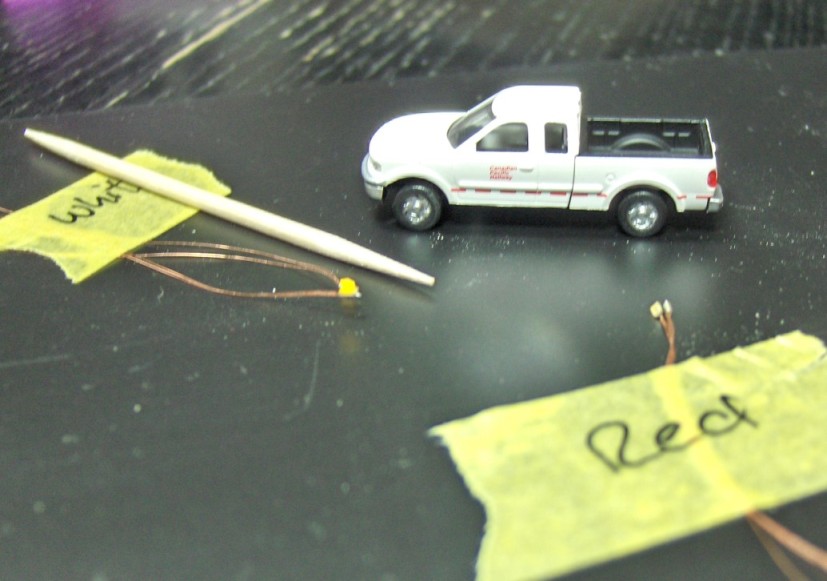
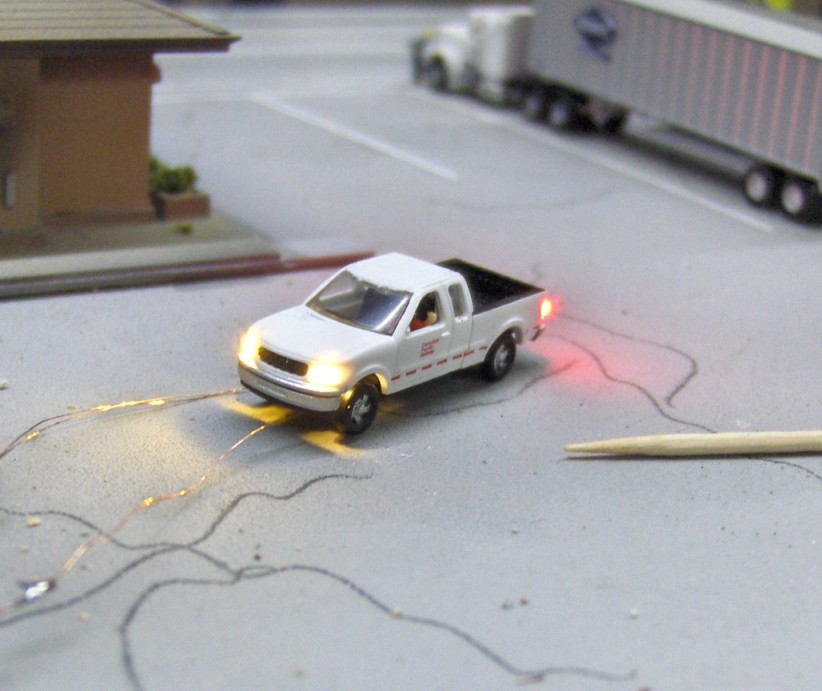
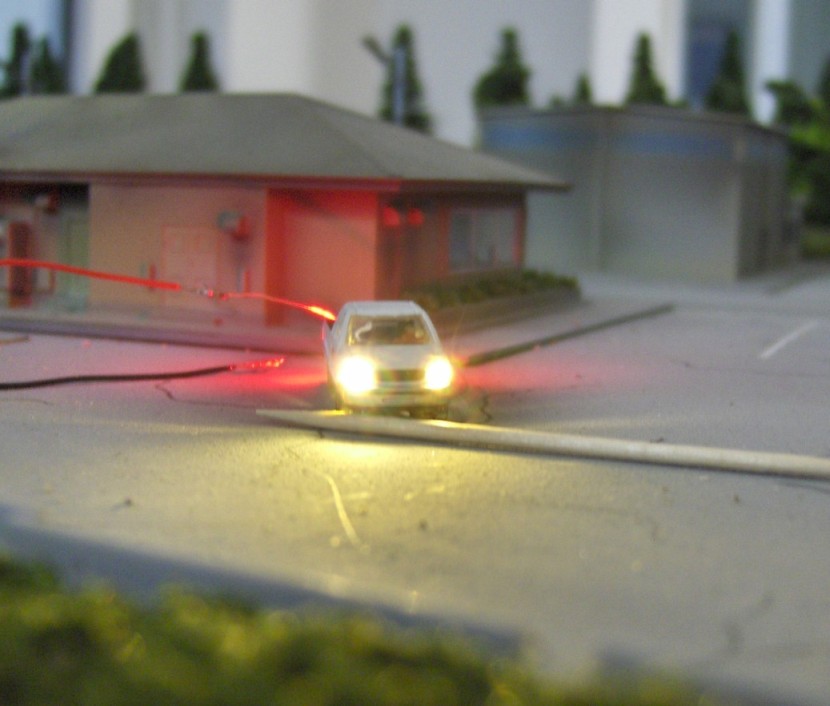
finally, the car is wired, assembled and ready to be installed on the layout. watch out for that toothpick... front lights ...
tail lights.
once you know how to do it it will take approx 1-2 hours to finish one car.
boy those are small leds, dont know if i got that much patience to install somethign like that, may have to try it some day once i get some sceanery done, good post sandro, layout looks good in the pictures