| Author |
 Topic Topic  |
|
|
SD9043N
Passenger

165 Posts |
 Posted - 04/07/2011 : 02:24:42 Posted - 04/07/2011 : 02:24:42


|
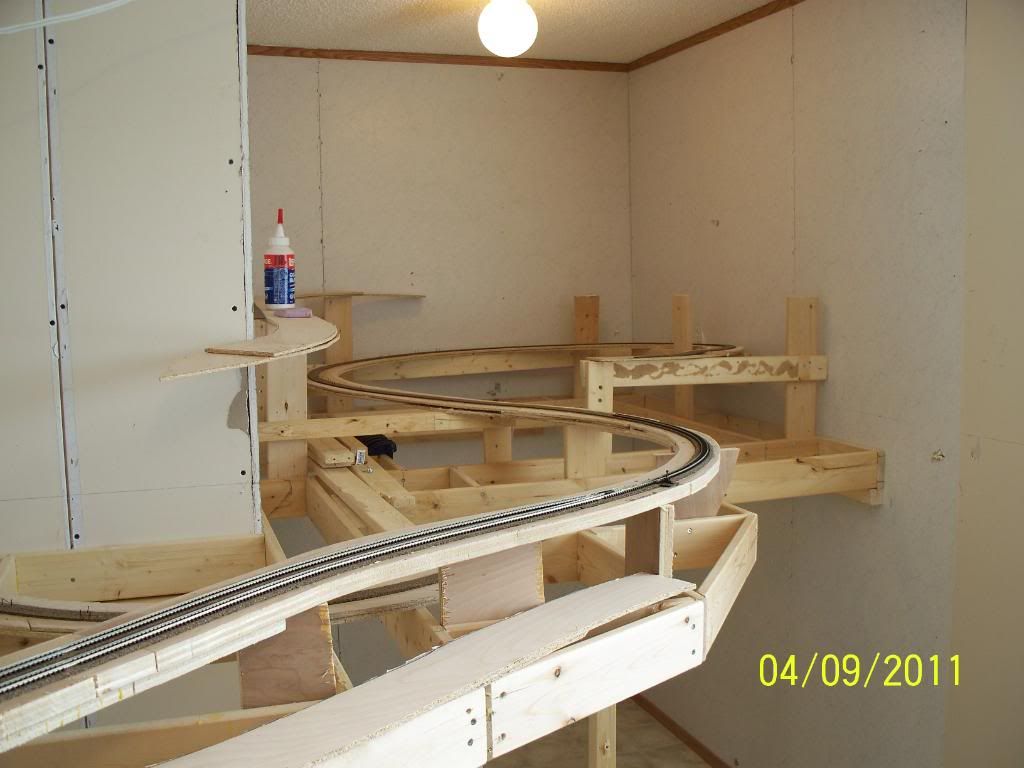
heres how i built my version of the spiral tunnels
started with a full sie drawing of the proposed track plan on big sheets of paper on the floor
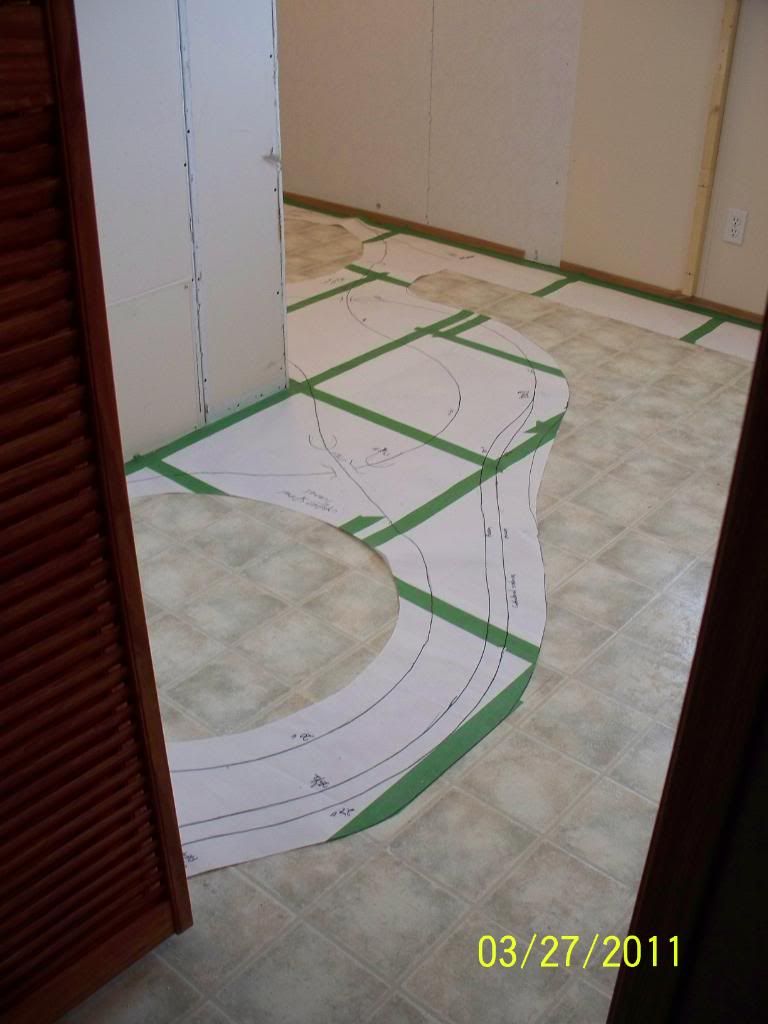


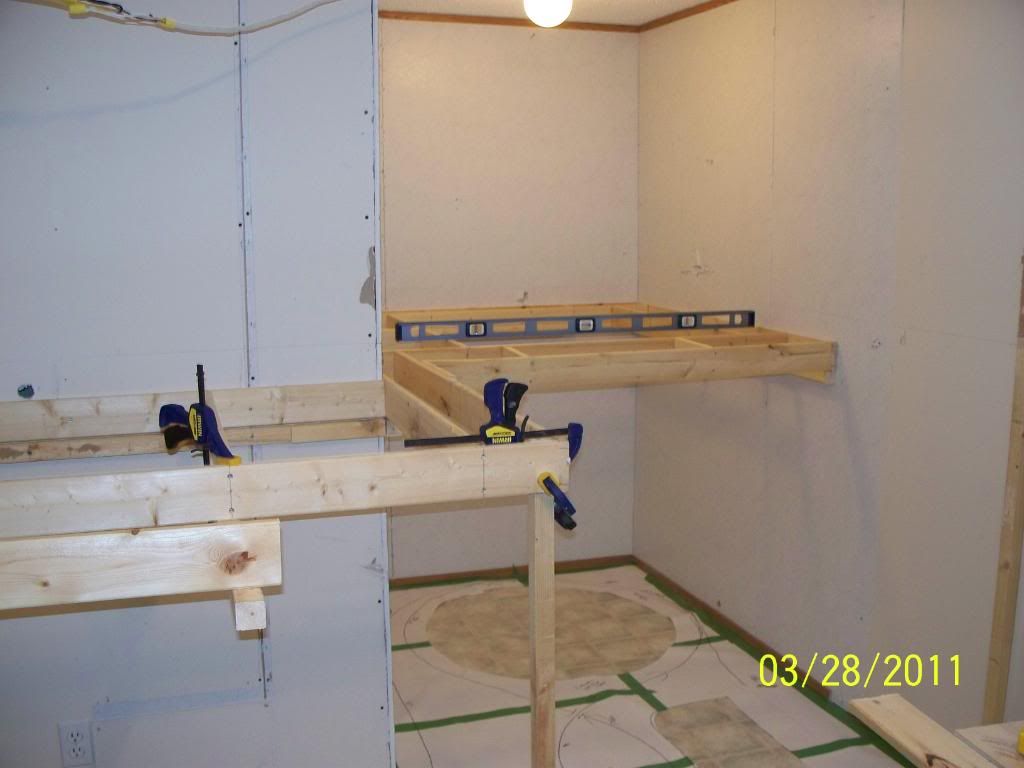
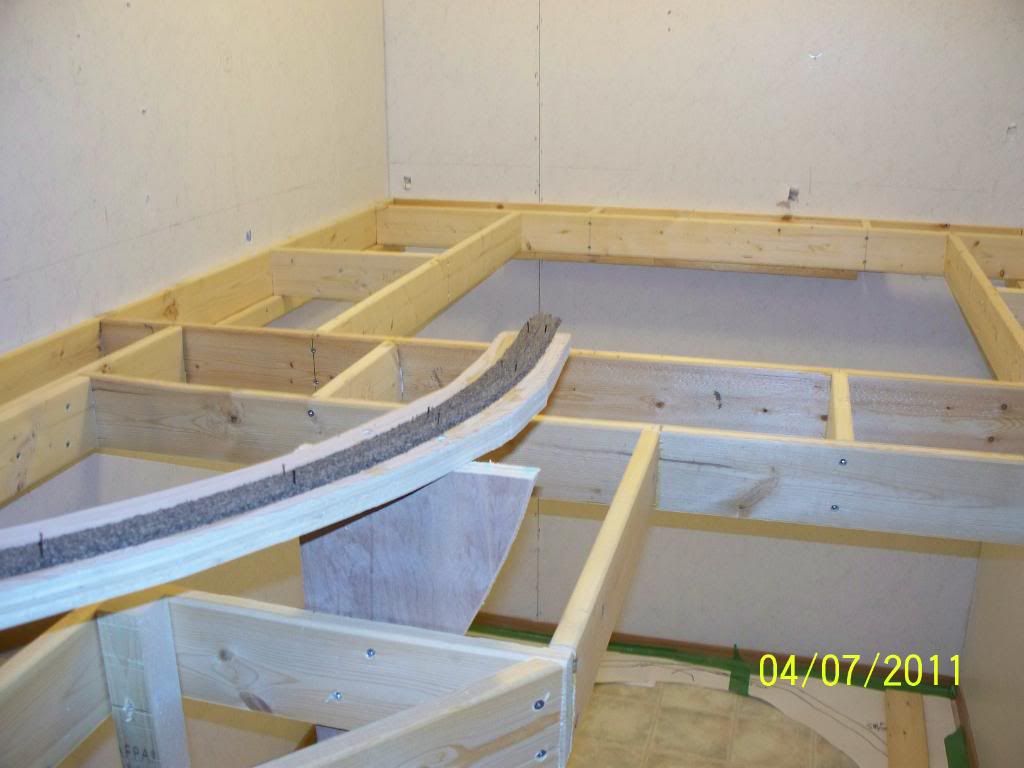
from there i built the benchwork to hold the tunnels
![]()
next i cut the plywood for all the curves and tunnel radius's
![]()
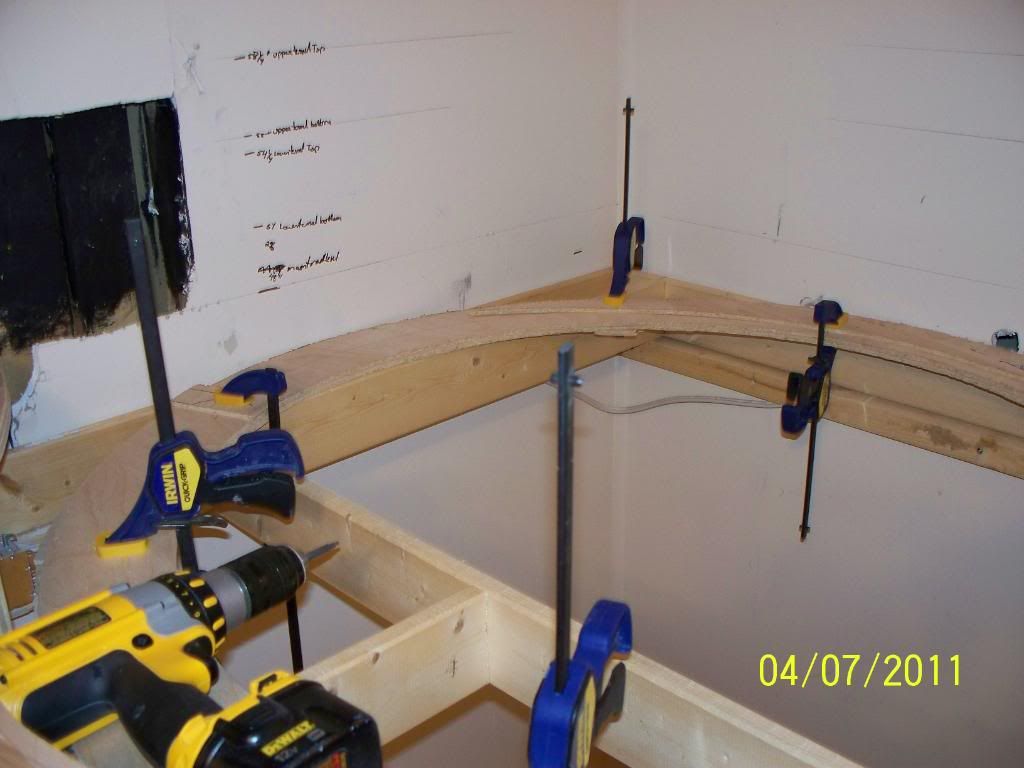
the main track part is made from 3/4 inch birch plywood, the tunnels are from 1/4 inch plywood glued and laminated together in the correct curve
![]()
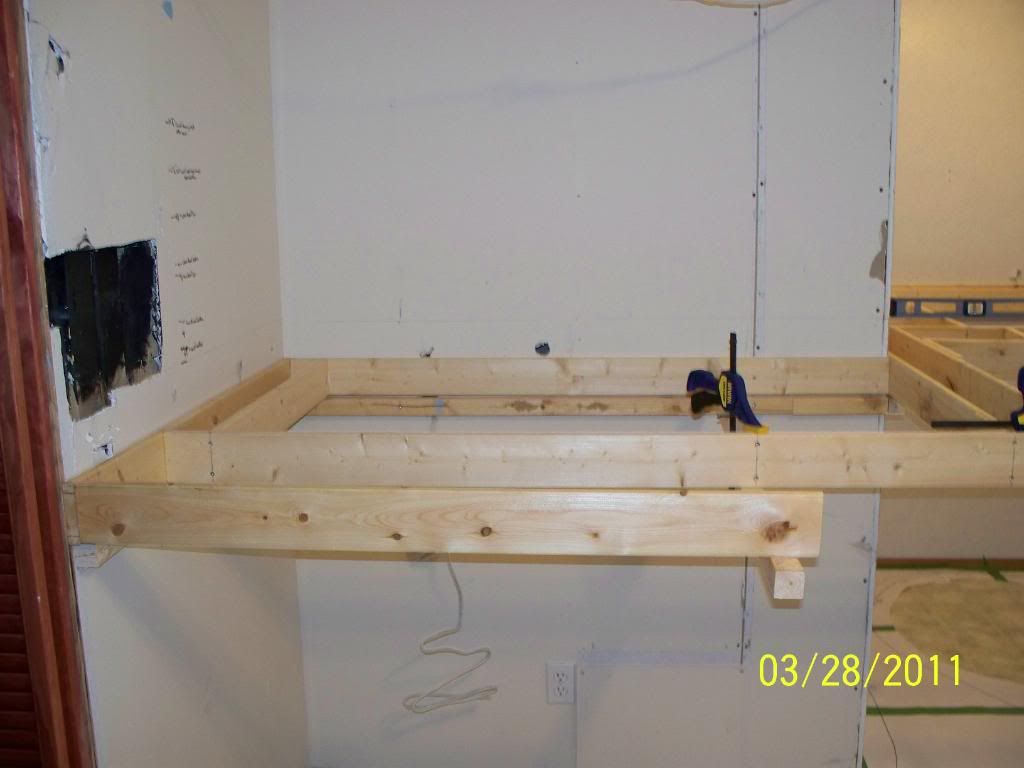
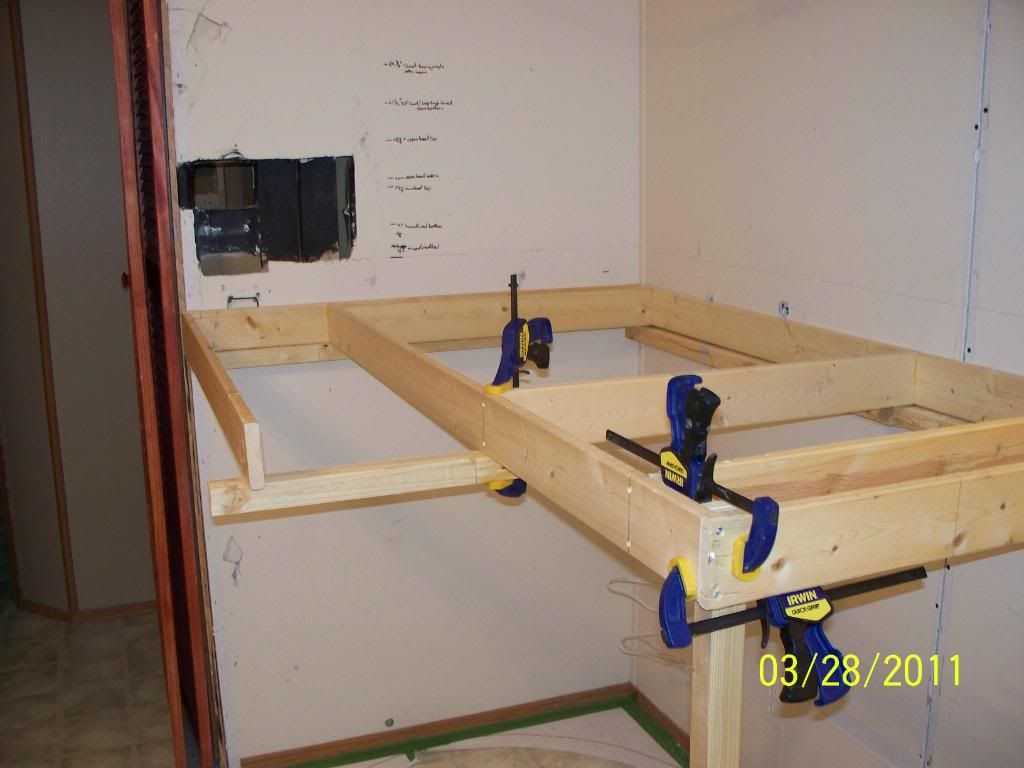
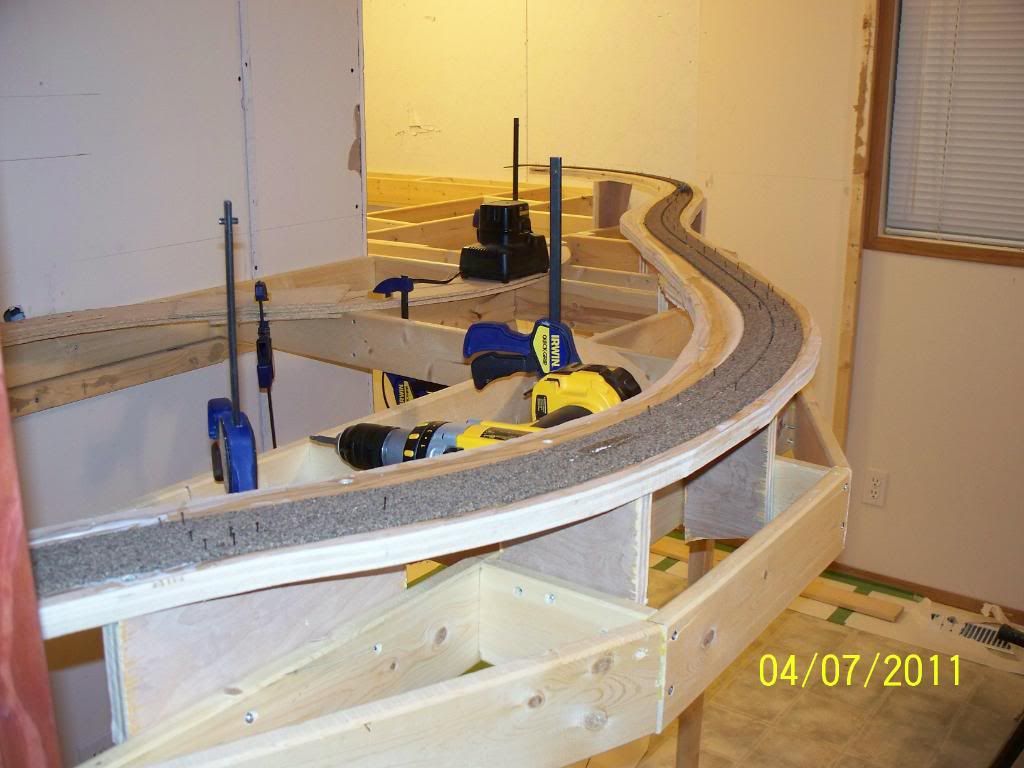
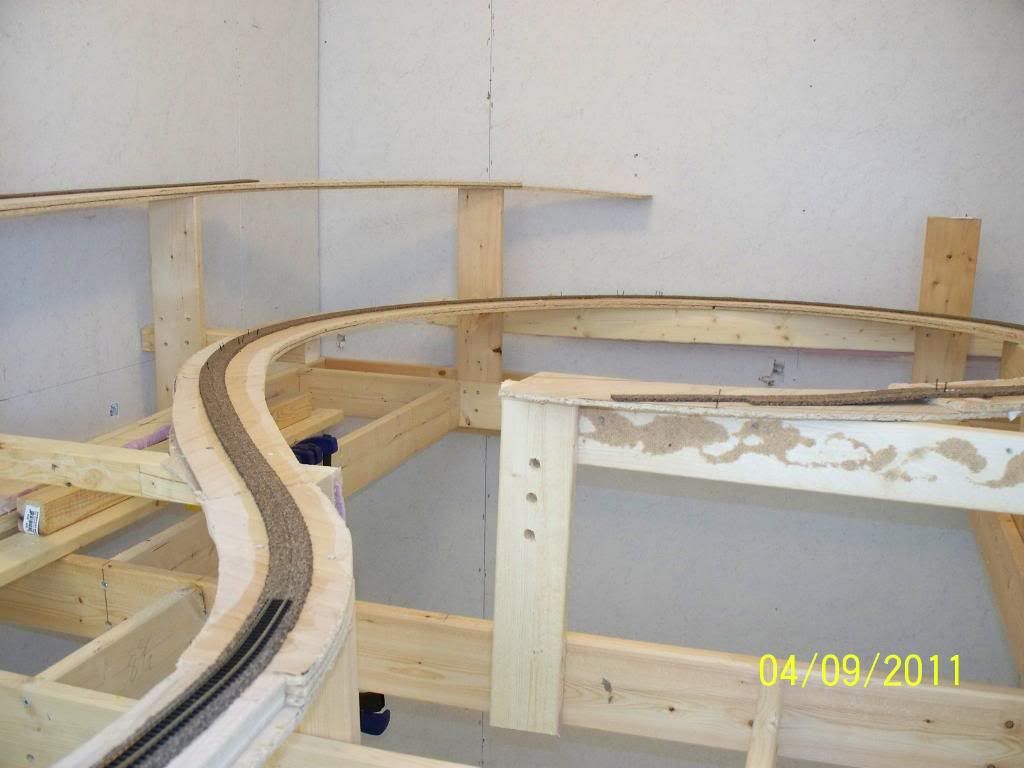
once it was more or less glued together i began assembling the grades for all the roadbed and supports, clamps work well for this so you can adjust everything as you go
![]()
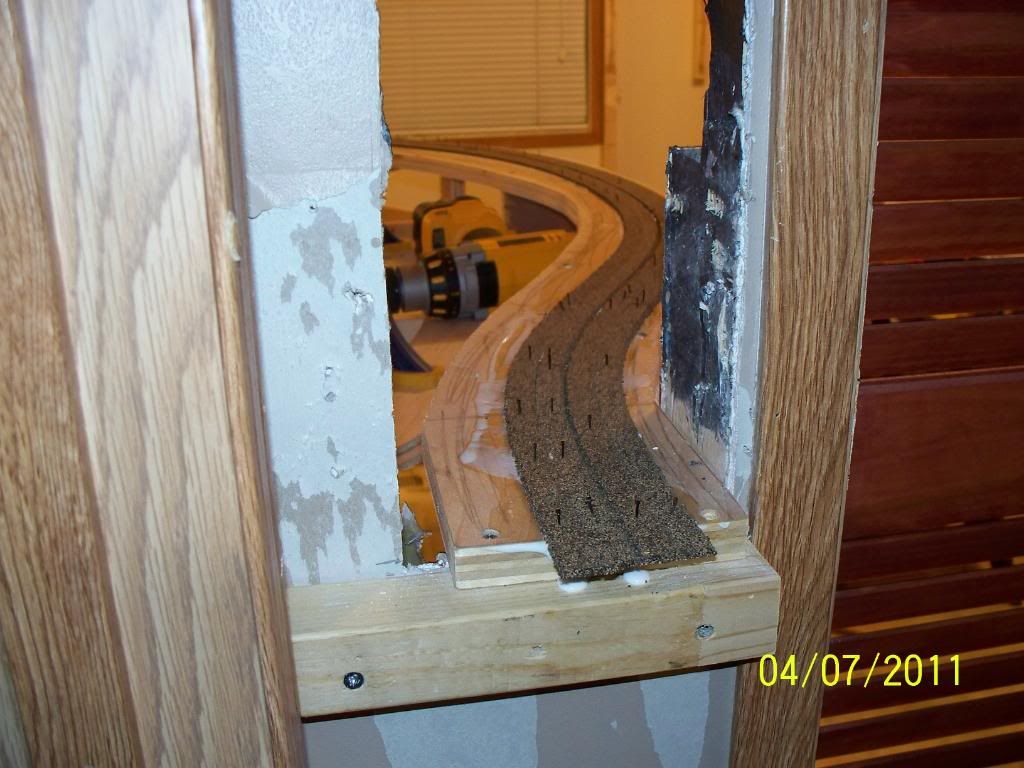
once the roadbed is in place time to lay roadbed and track
![]()
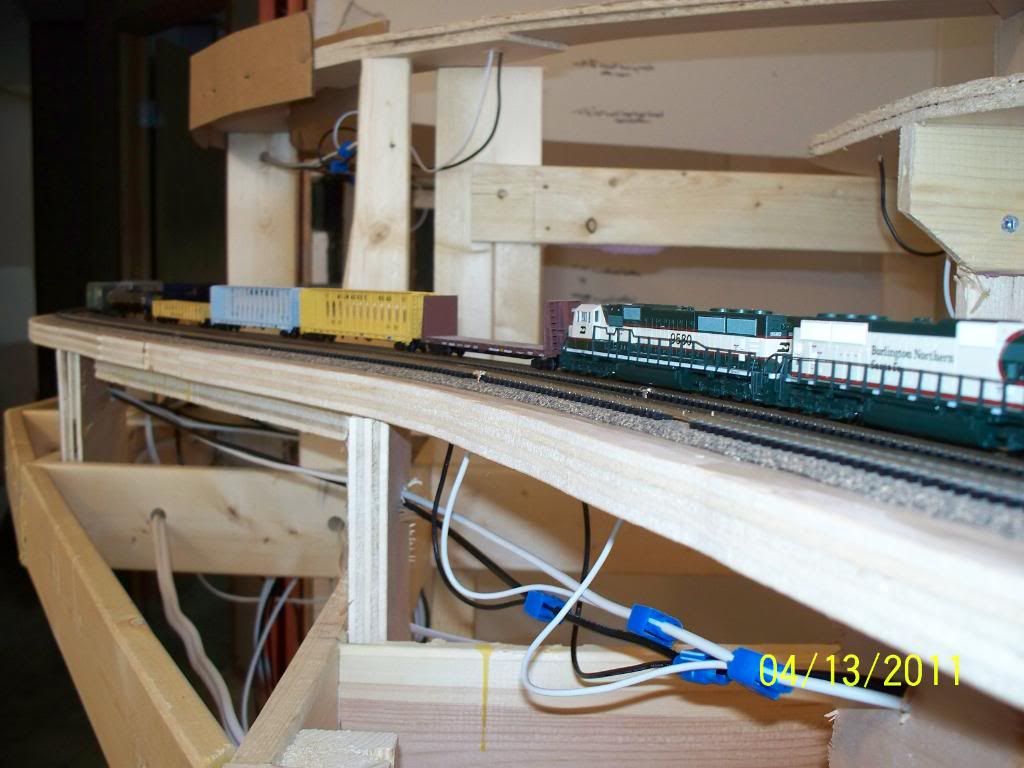
after the track is done and tested with hand rolling soem cars of various lengths over everything, it can be wired for dcc
![]()
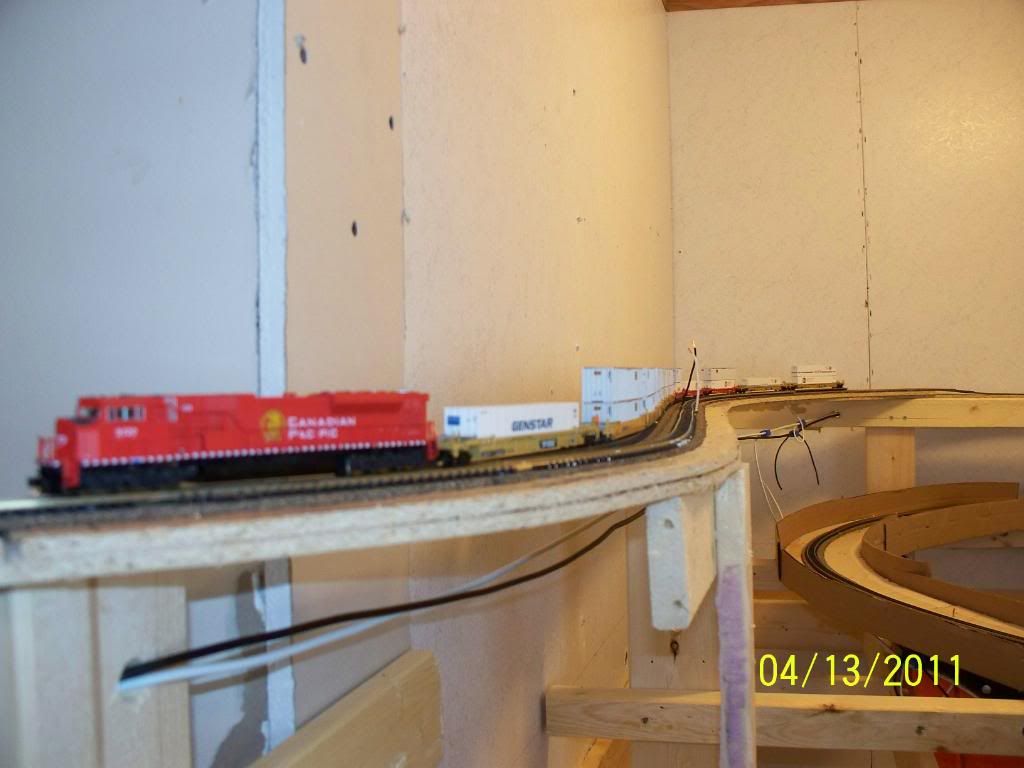
then it can be tested again with soem locomotives and cars under power to make sure everything is ok
![]()
there the nolix is done, time to move on to the rest of the layout, scenery will follow in the future when the track is all done. ill post pics as contruction goes to follow the description i posted.
trains let us dream big ina small space |
|
|
SD9043N
Passenger
165 Posts |
Posted - 04/09/2011 : 00:10:03
|
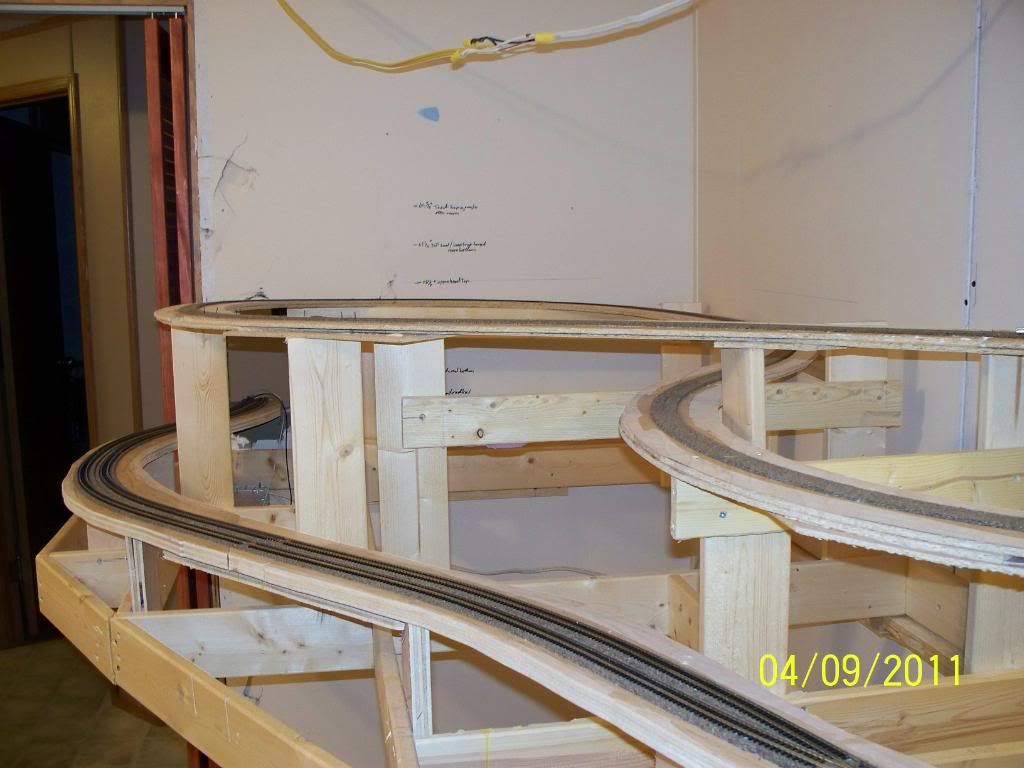
benchwork being built
track roadbed taking shap, laid some cork on one section already


heres the upper spiral tunnel roadbed glued and clamped together ready for cork and track
i used quarter inch plywood in two layers glued together with wood glue and let dry overnight
more to follow enjoy
trains let us dream big ina small space |
 |
|
|
SD9043N
Passenger
165 Posts |
Posted - 04/10/2011 : 07:04:07
|
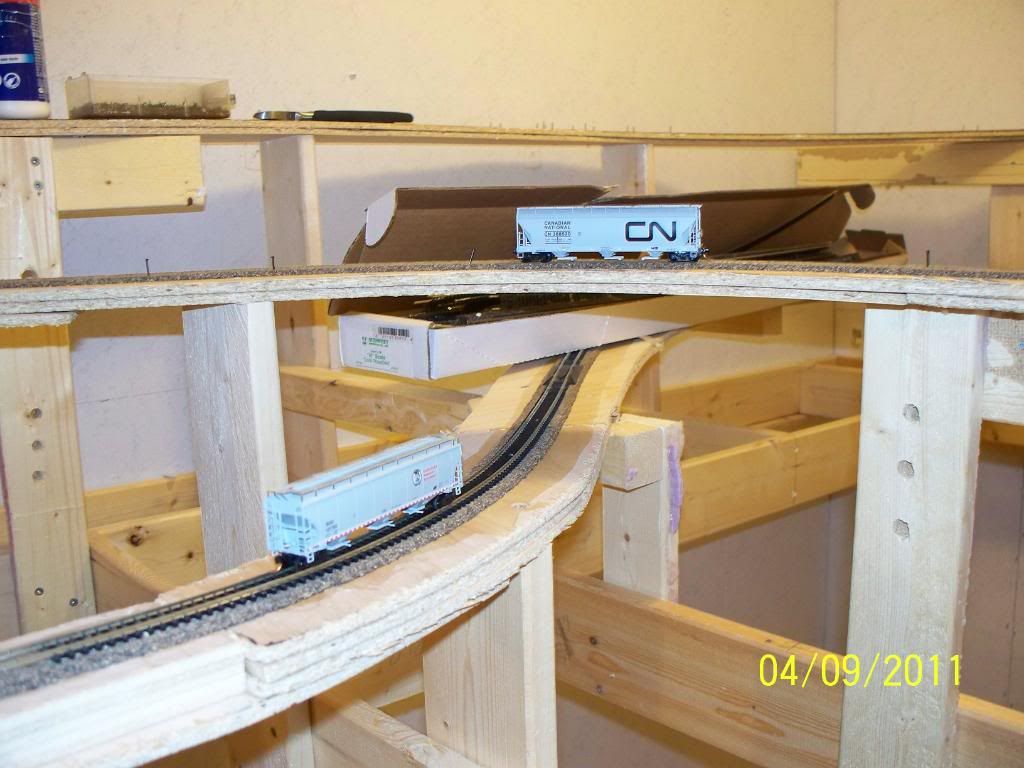
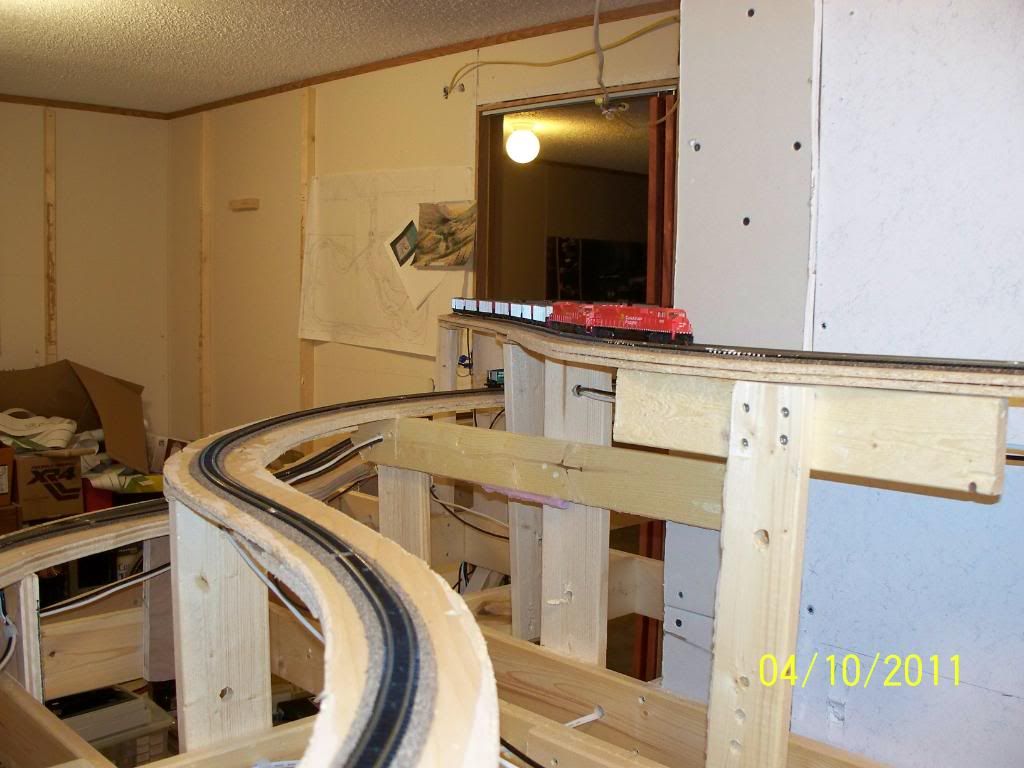
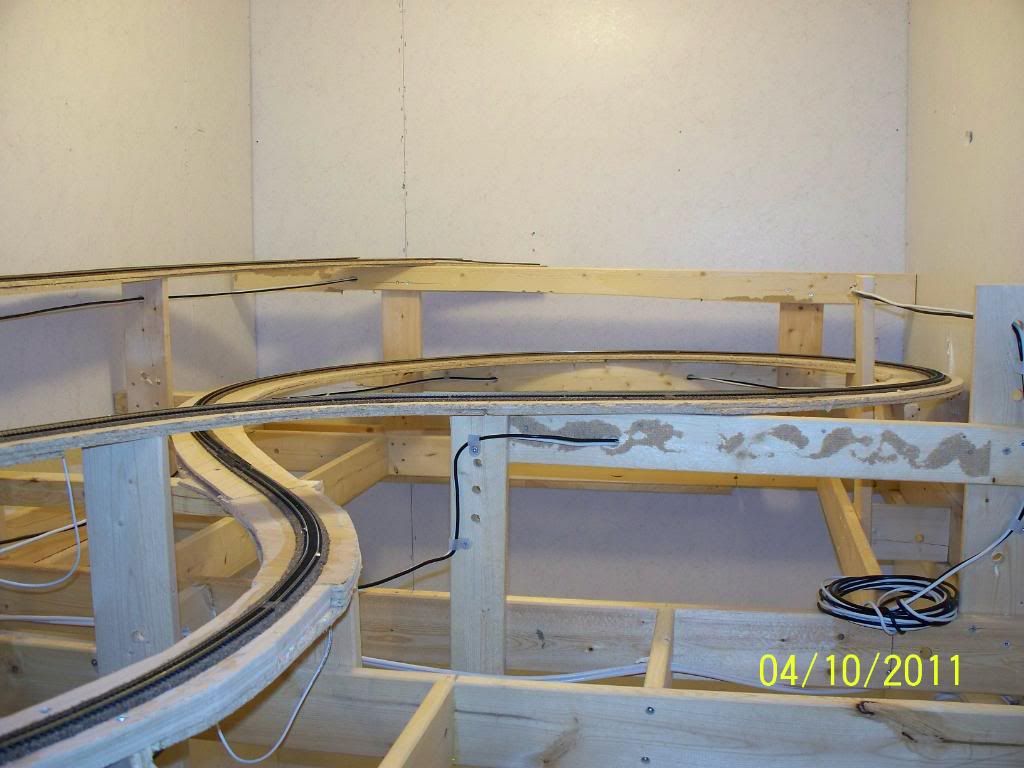
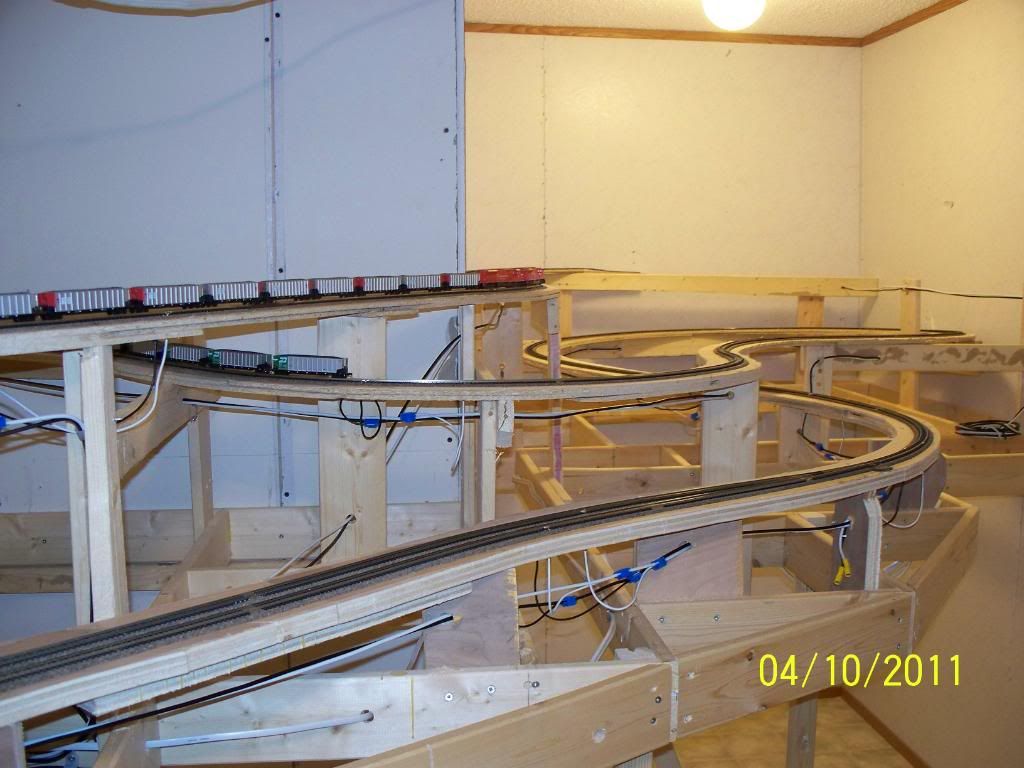
the lower spiral tunnel taking shape
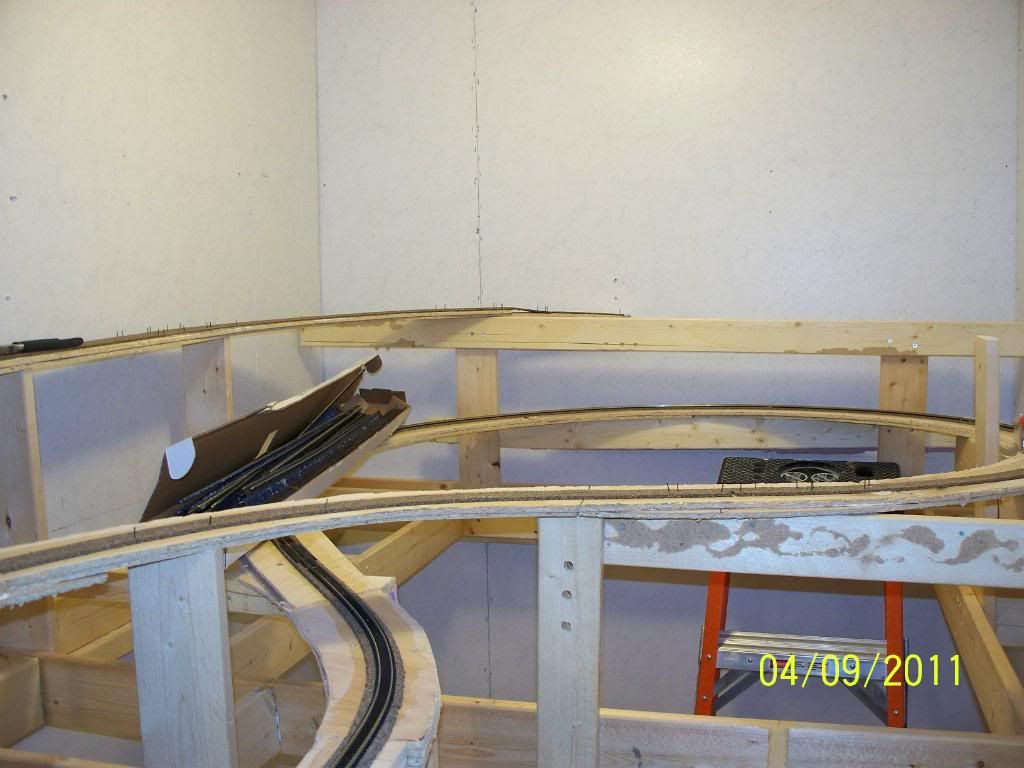
heres the upper tunnel section taking shape
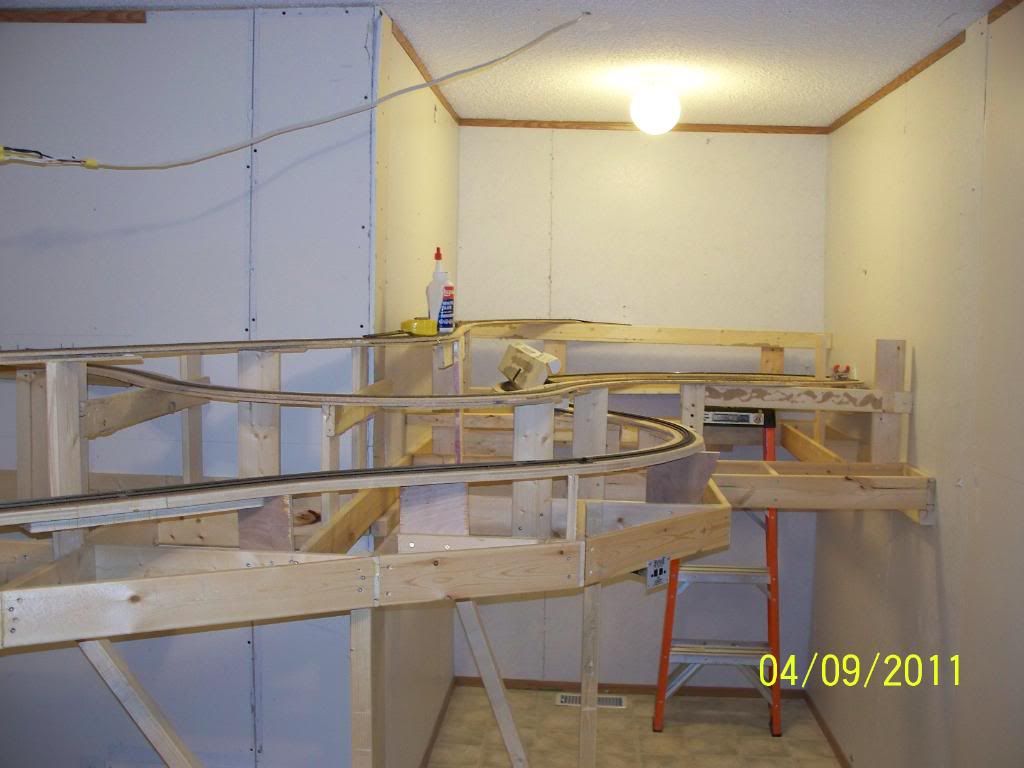

heres the rest of the tunnels, most cork is done and begun laying the track
trains let us dream big ina small space |
|
|
|
SD9043N
Passenger
165 Posts |
Posted - 04/10/2011 : 07:07:35
|
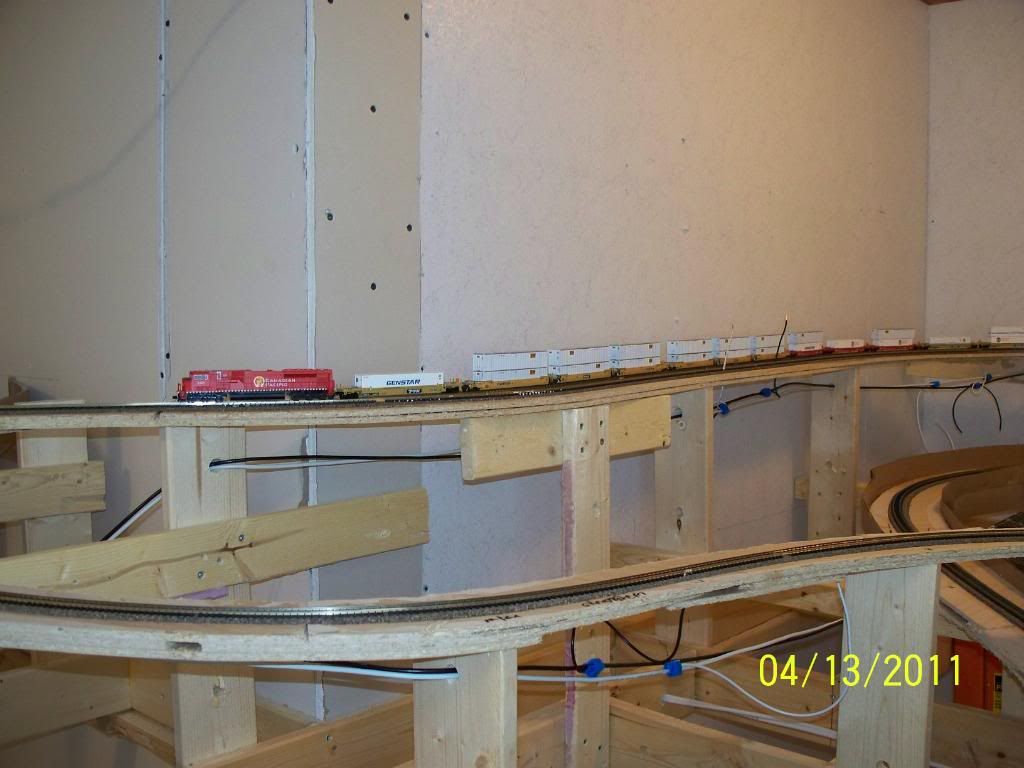
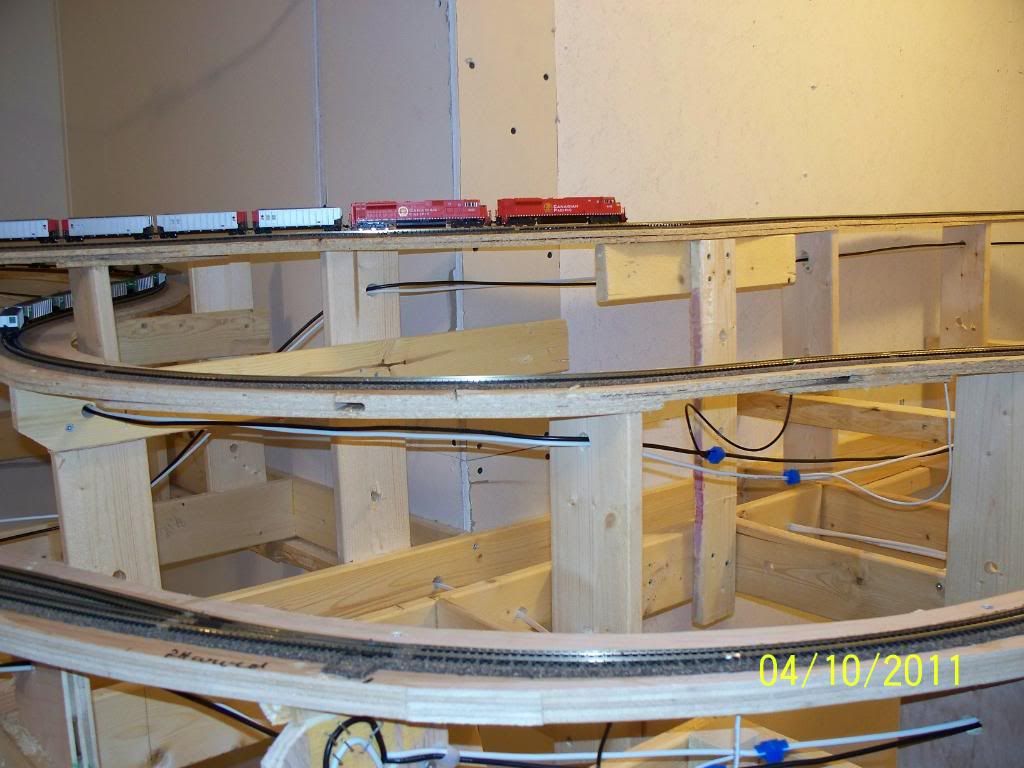
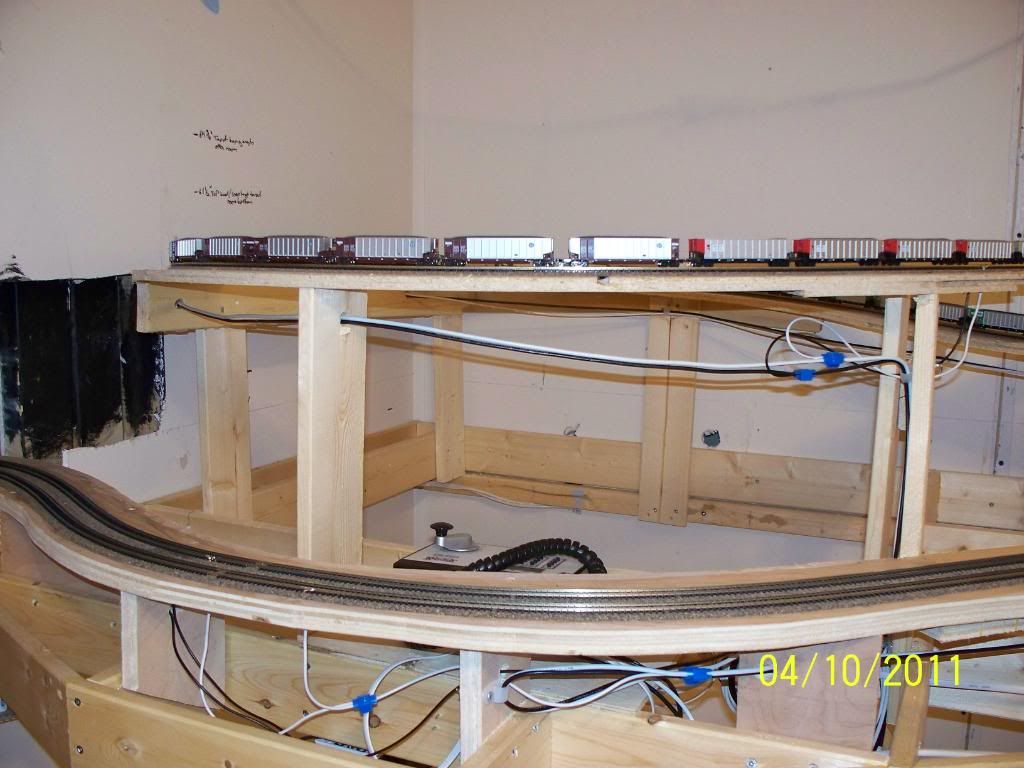
continued from previous posting
more pictures of th etunnels and the cork as well as soem track has been installed
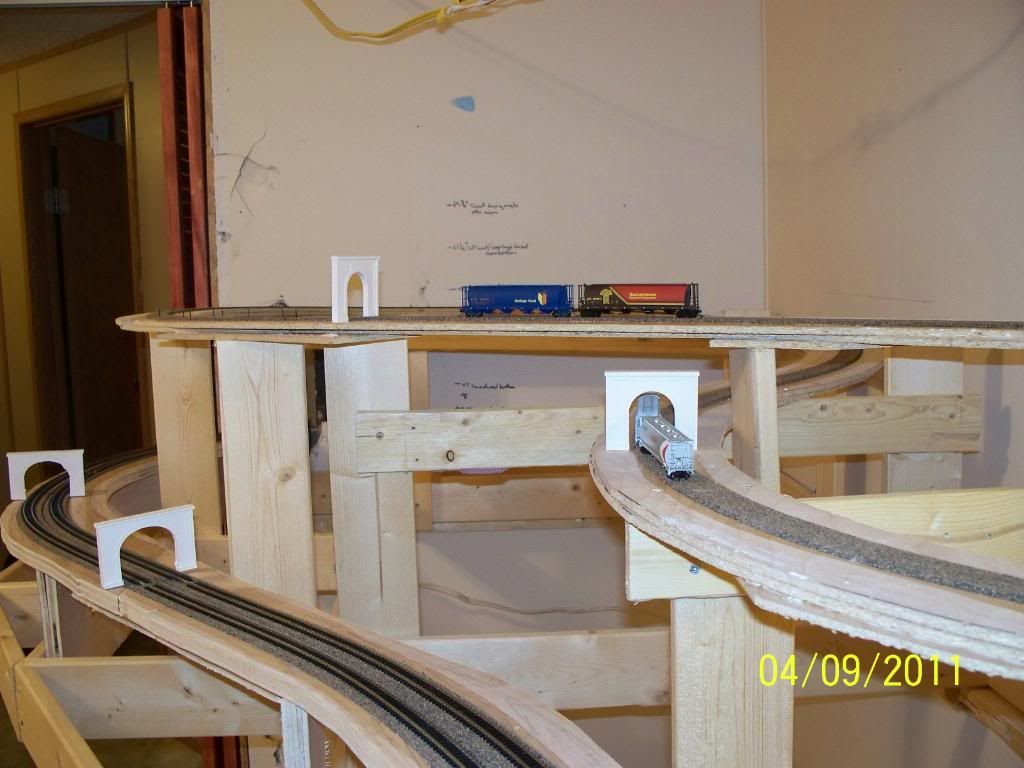

next will be finish the track laying and then start the wiring, i still have to put in a few braces for the tunnels but its coming along nicely, will keep everyone posted
trains let us dream big ina small space |
|
|
|
SD9043N
Passenger
165 Posts |
Posted - 04/14/2011 : 01:28:56
|
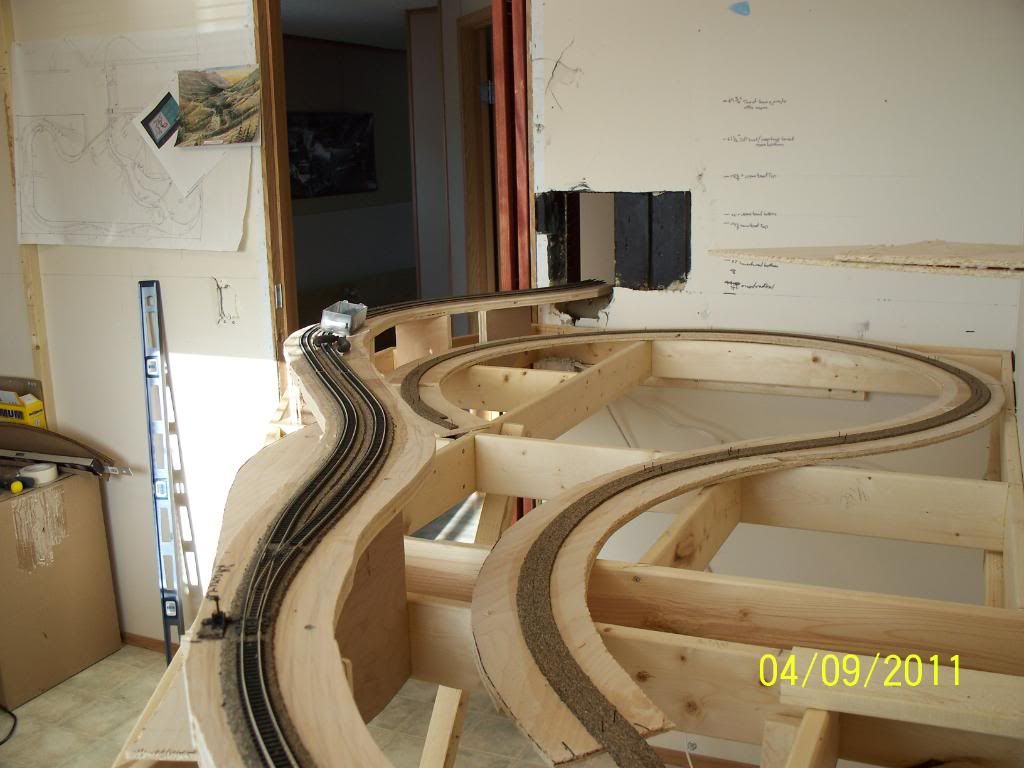
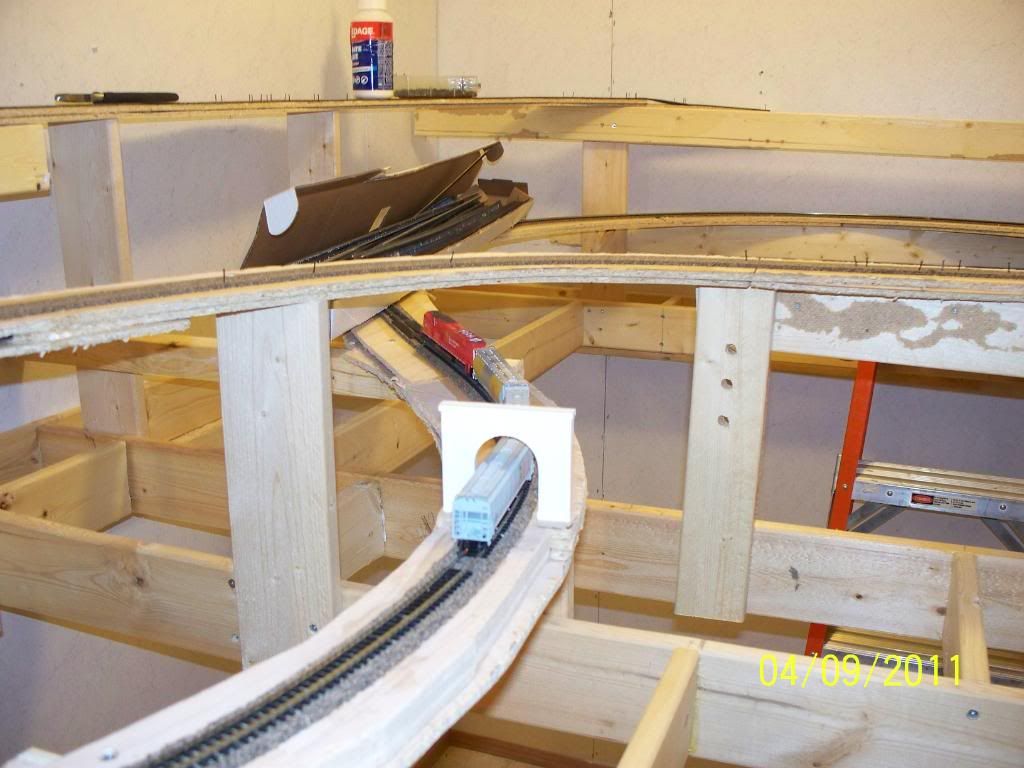
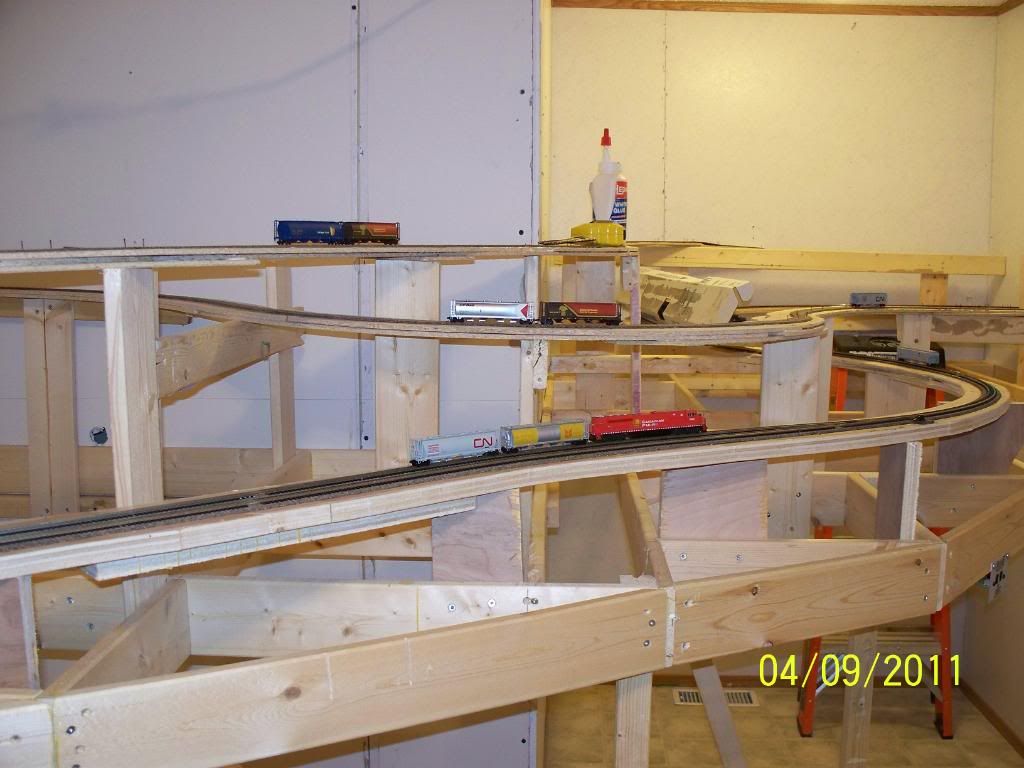
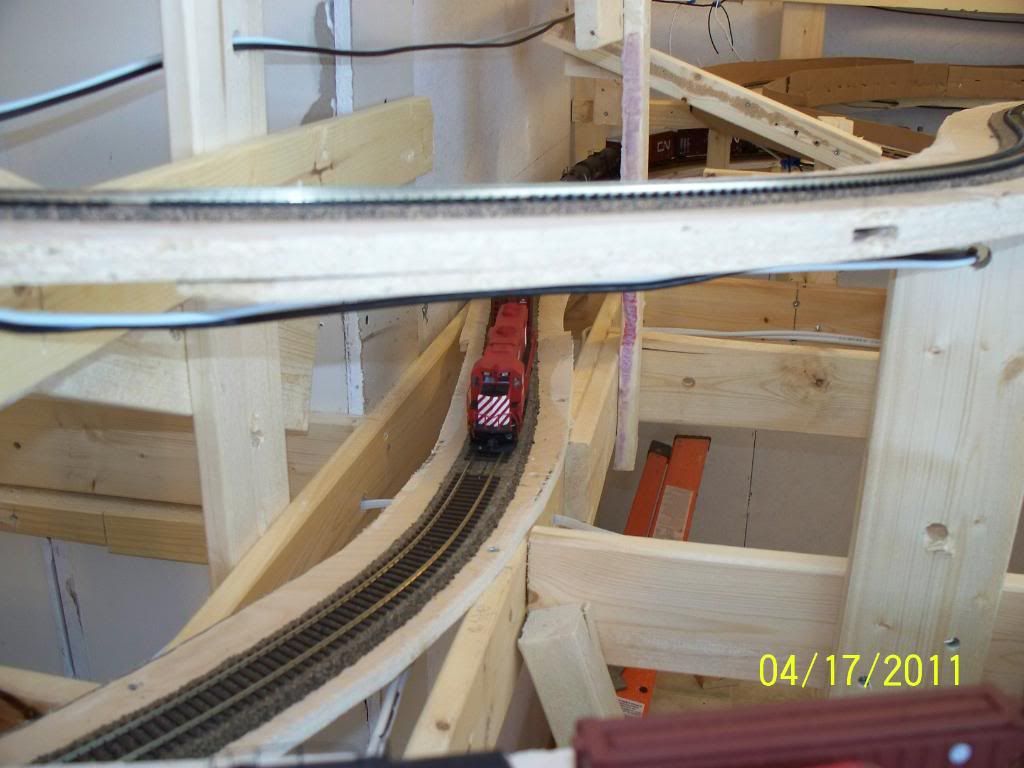
well the spiral tunnels are taking shape, benchwork is basically done for this portion of the layout, got a few more wires to solder to the track, test ran some trains up and down the tunnels everything is looking good and running smooth, hers some pics of the last bit of work i did includes shots of the first trains over the hill
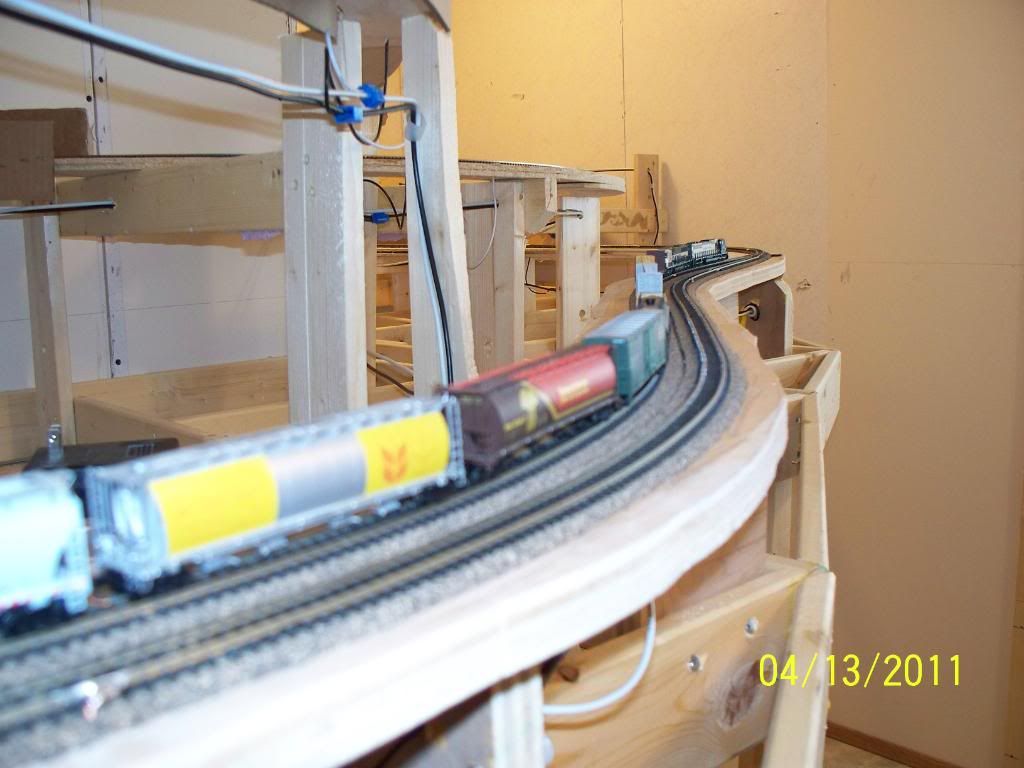
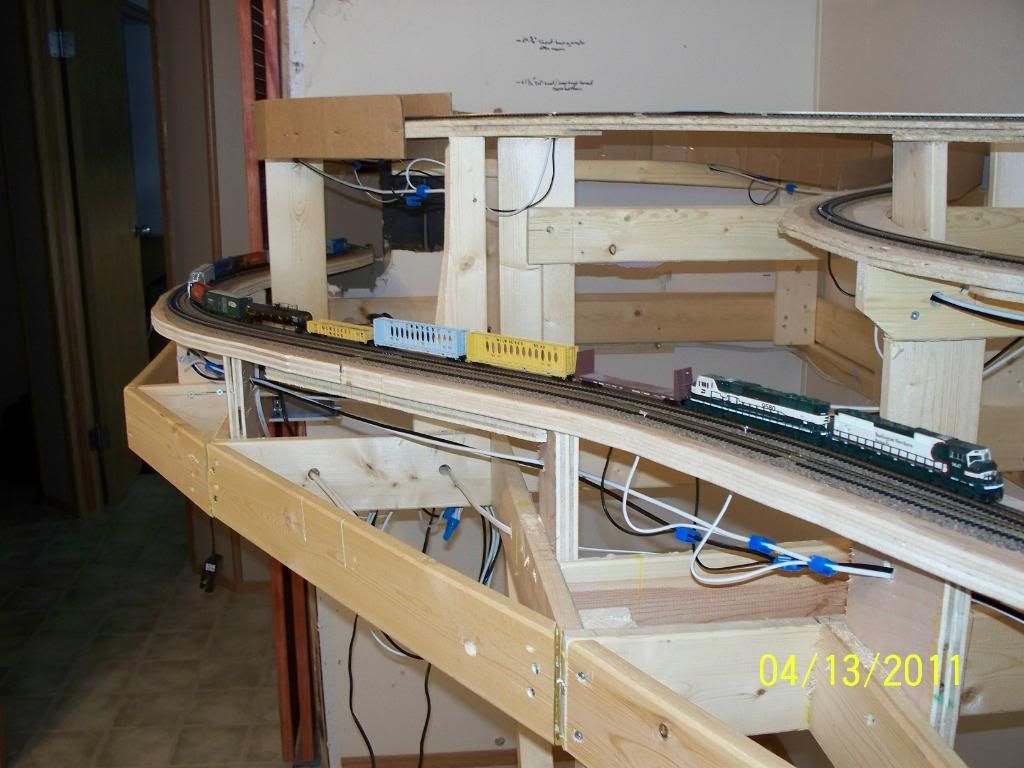
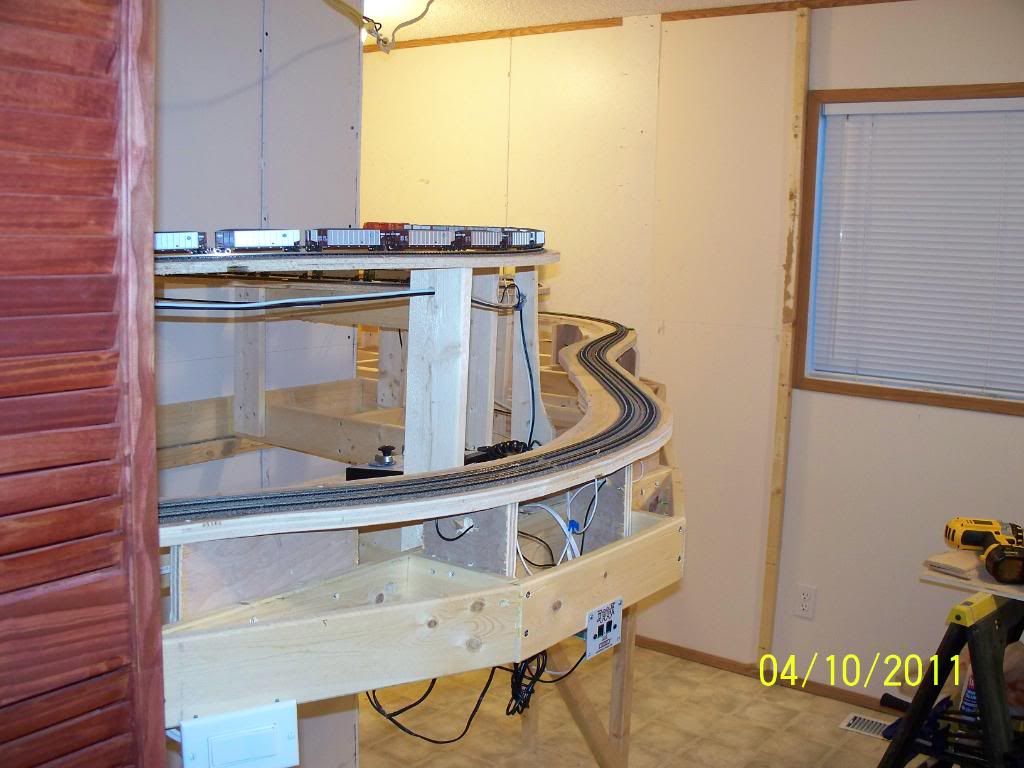
overall im very happy with the way the tunnels turned out and i am looking forward to starting on the next part of the layout which will make up the second lvl in this room, the remainder of the layout will be in another spare room across the hall from the doorway entering the room, more pics to follow
trains let us dream big ina small space |
|
|
|
sschaer
Moderator

913 Posts |
Posted - 04/14/2011 : 07:51:30

|
holy cow !!!! fantastic work !
what is the minimum radius on this part of your layout ?
what is the grade ?
i'm sure it looks cool to see a 100+ car train climbing up thru these curves. |
|
|
|
SD9043N
Passenger
165 Posts |
Posted - 04/16/2011 : 20:12:10
|
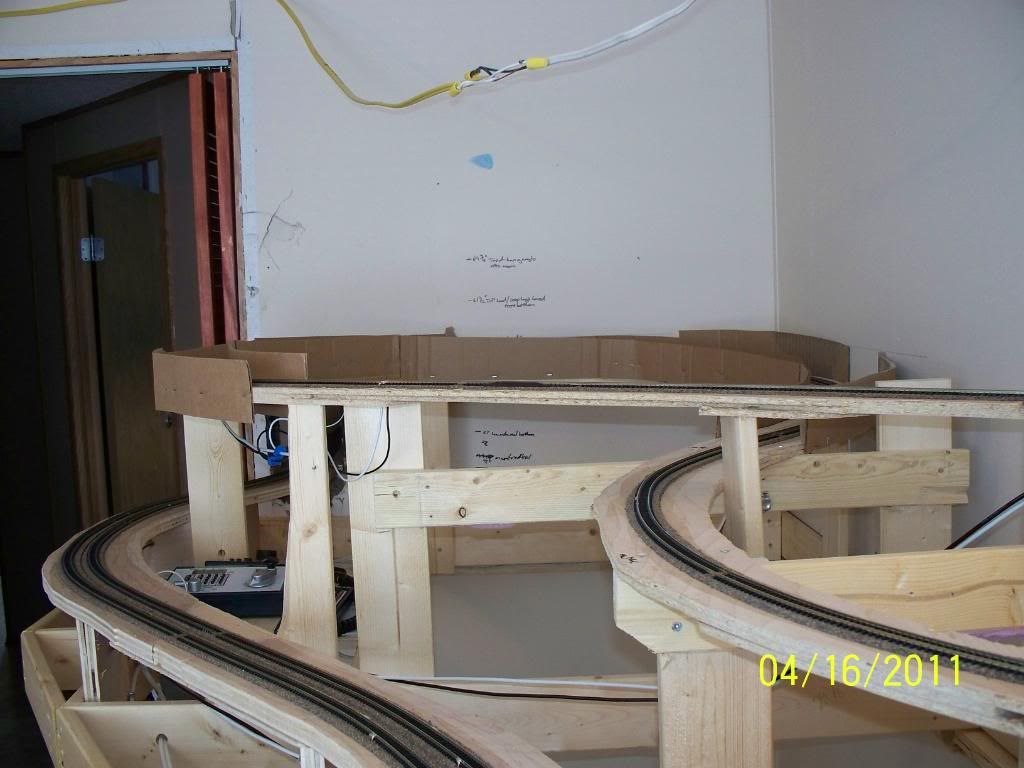
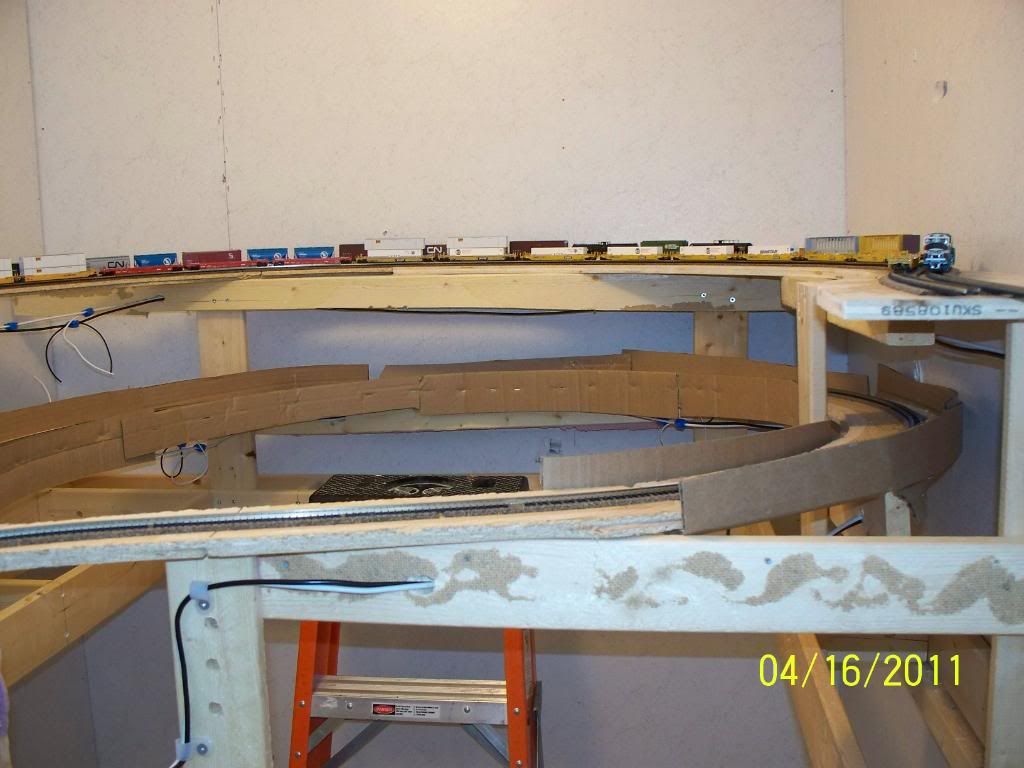
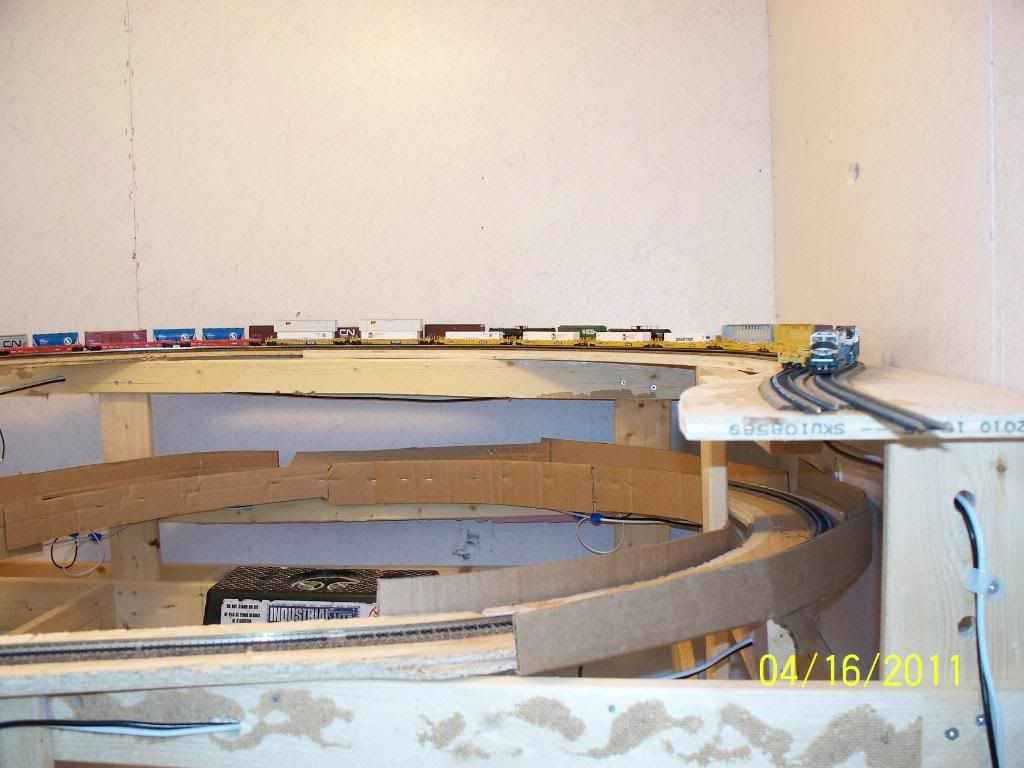
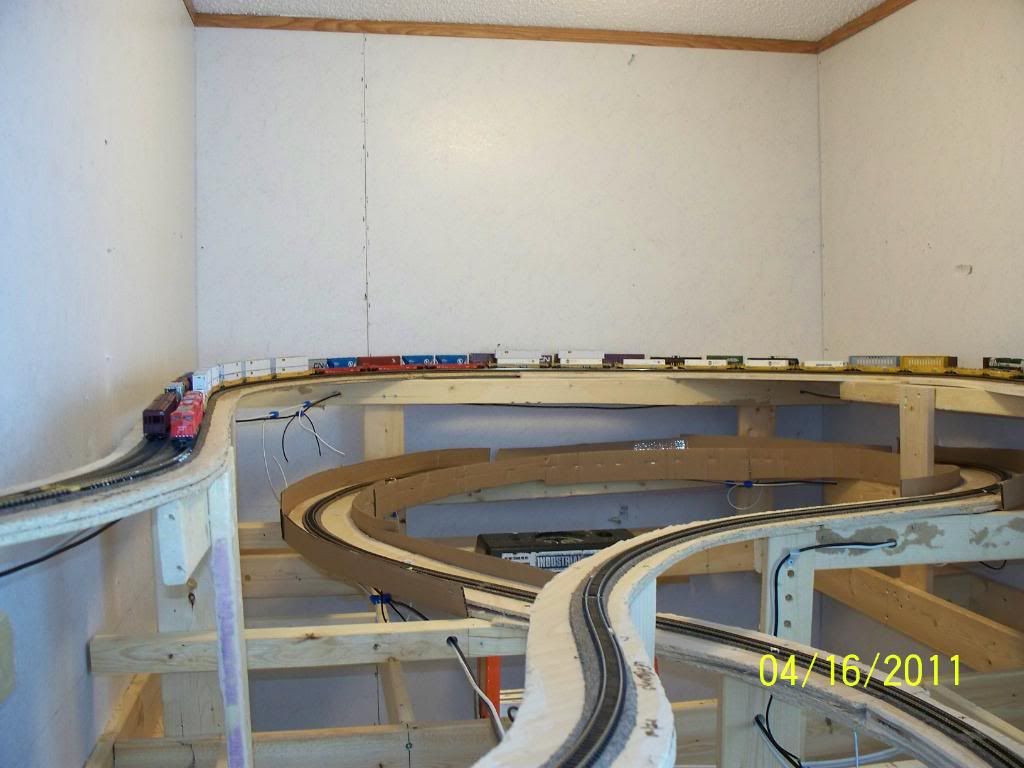
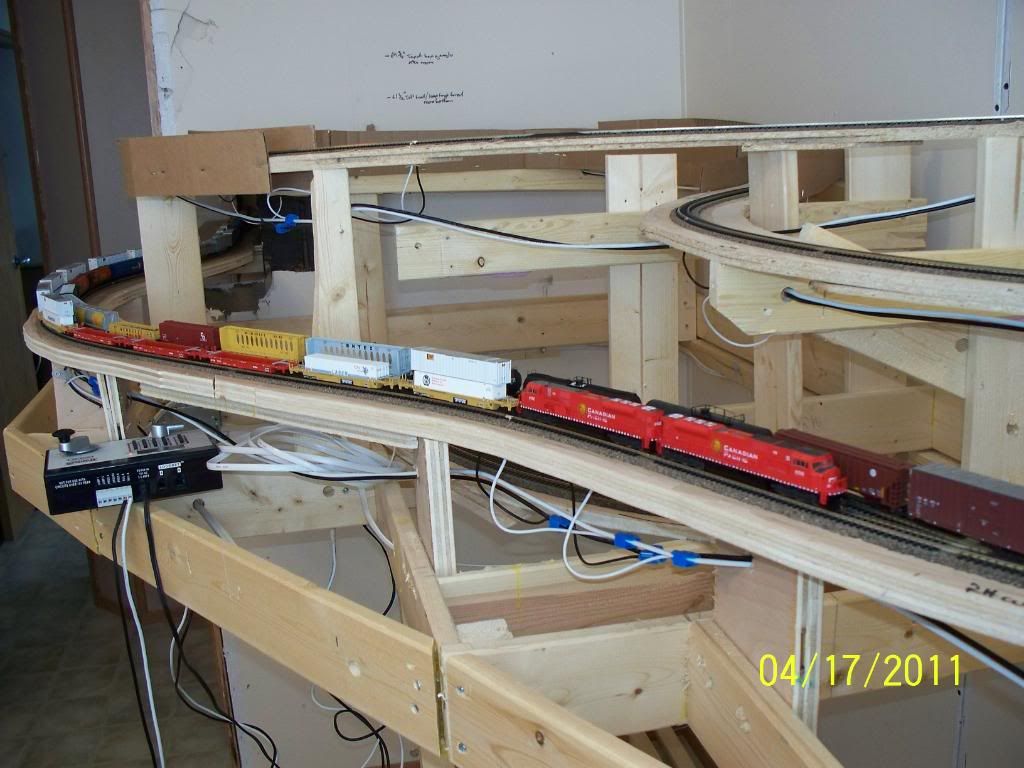
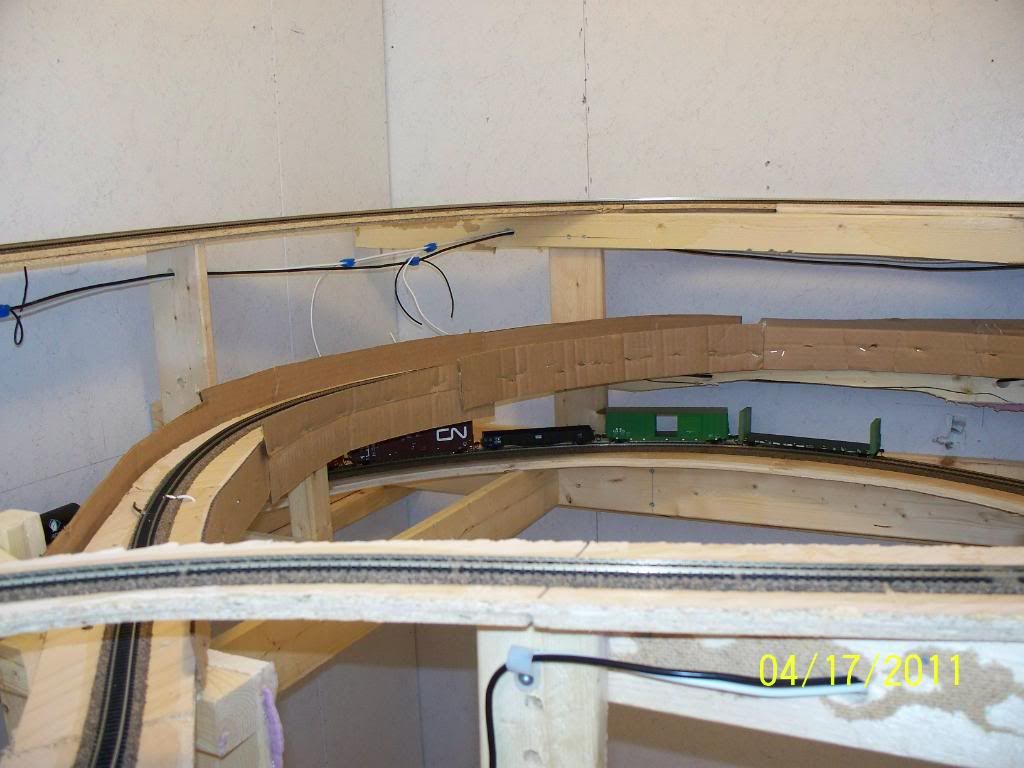
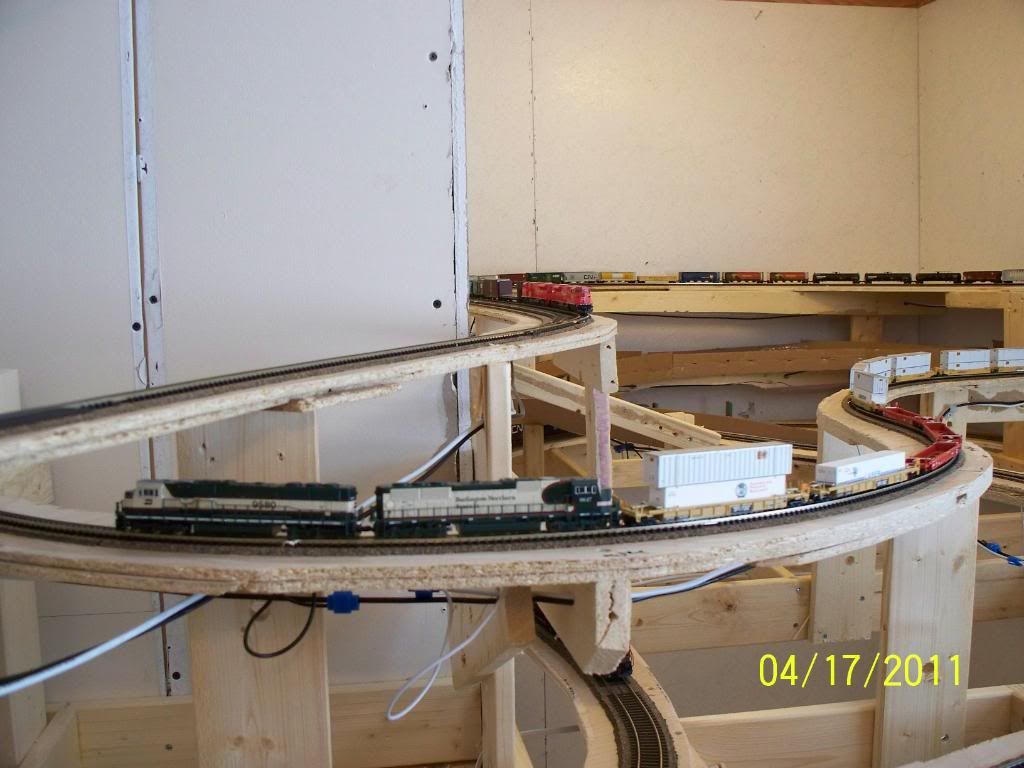
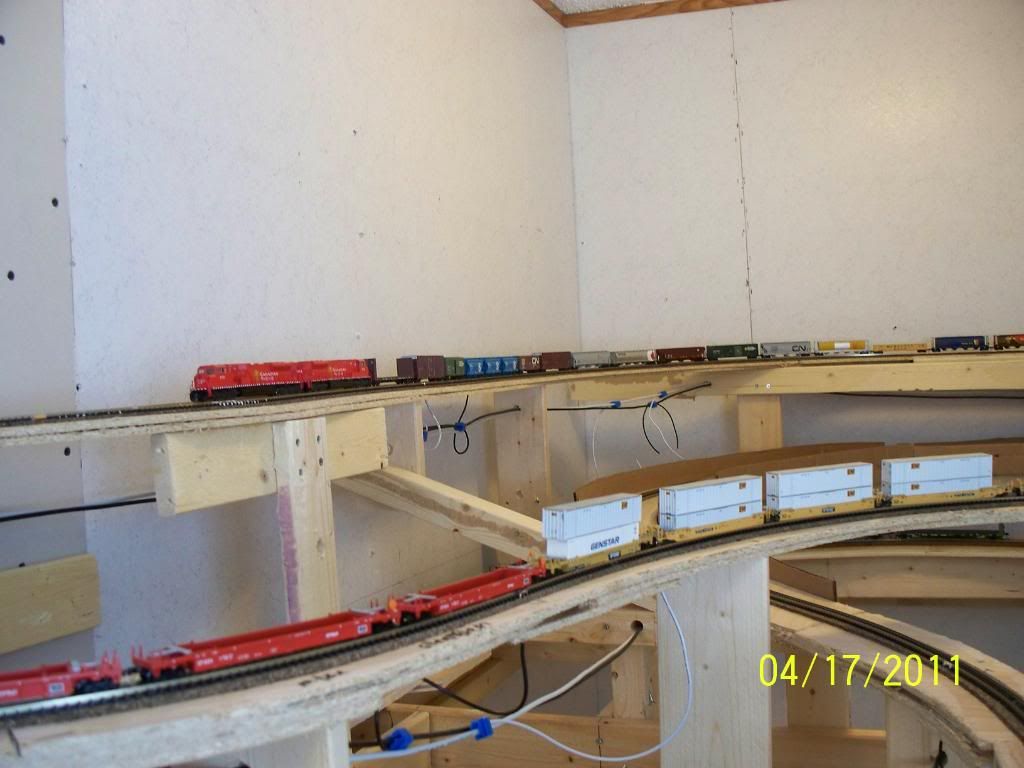
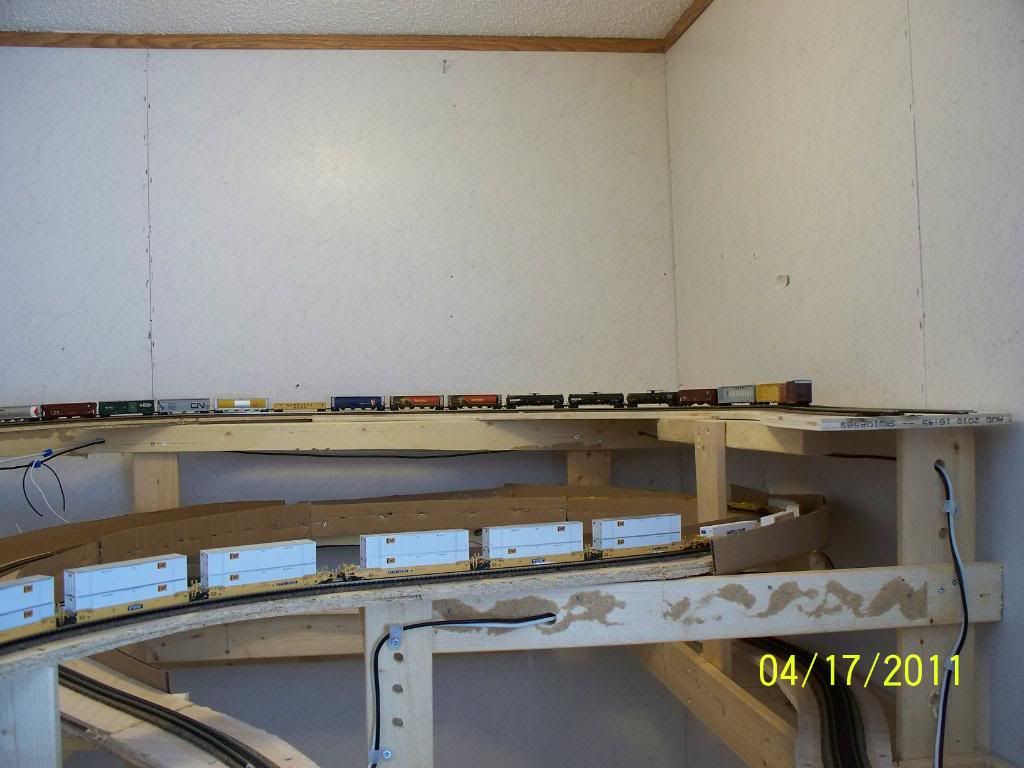
radius is about 19 to 20 inches on the upper part and the lower tunnel is 22 inches
the grade is around 2 percent for most of it and it gets closer to 2.5 in the upper tunnel
total climb is around 12 inches
ran a 36 car coal train thru the loop with 2 kato sd90/43's on the front, going up and down with no issues
im planning on running 30 to 40 car trains on average with the occasional big one just to see if it will go, should be interesting to see
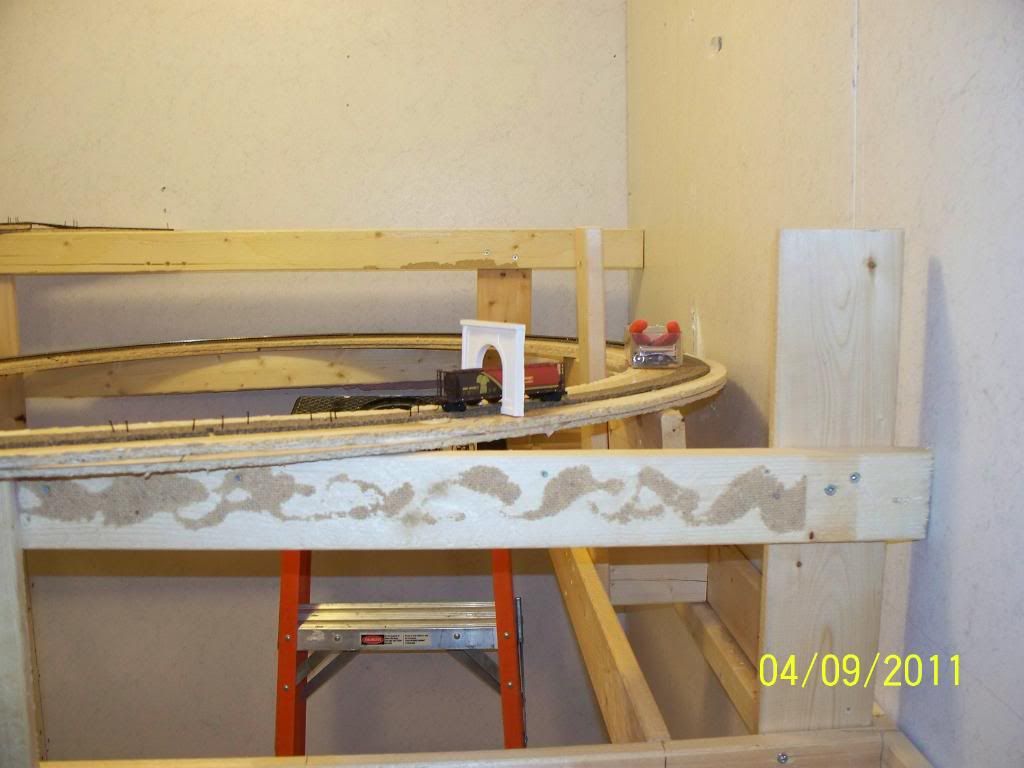
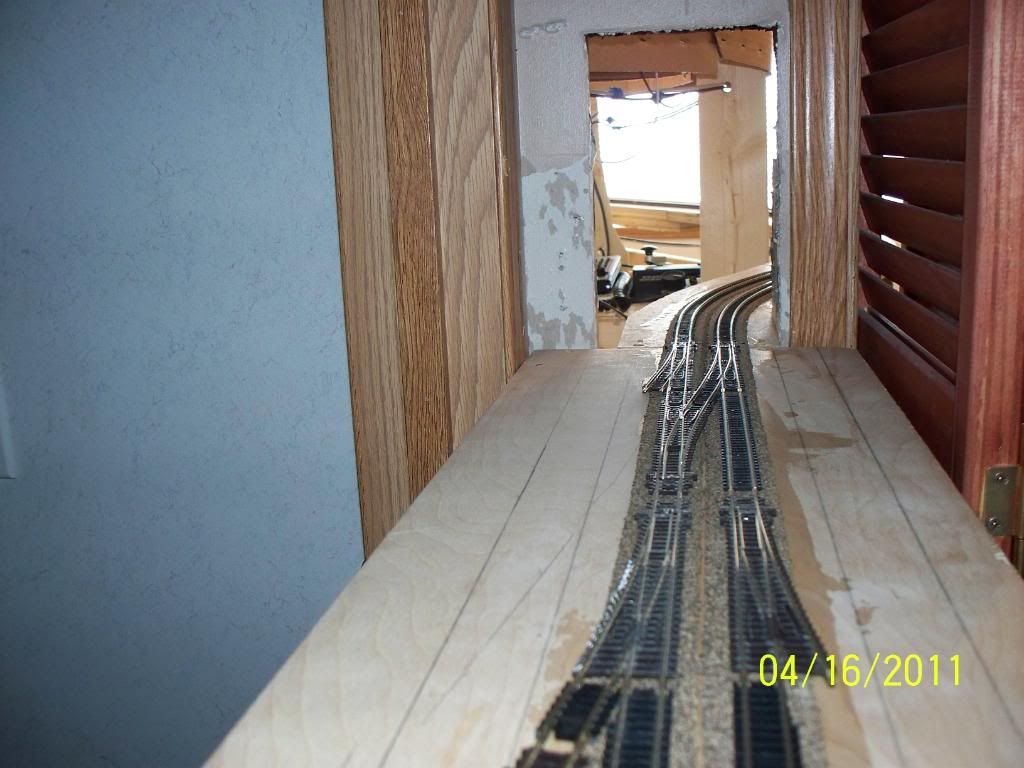
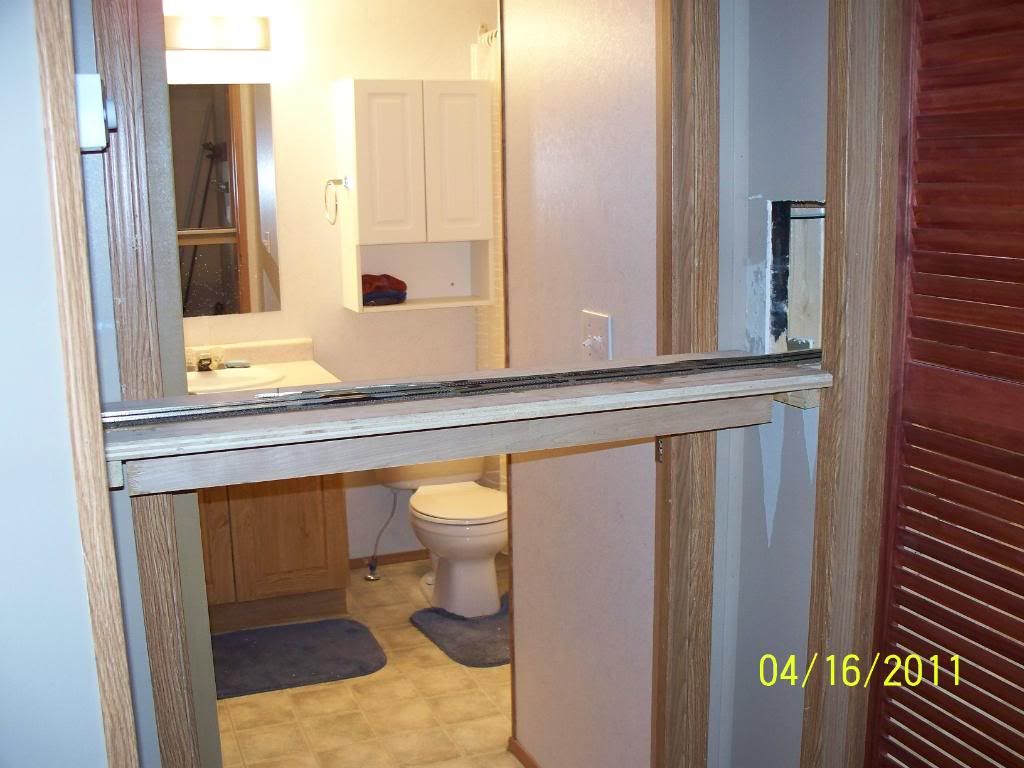
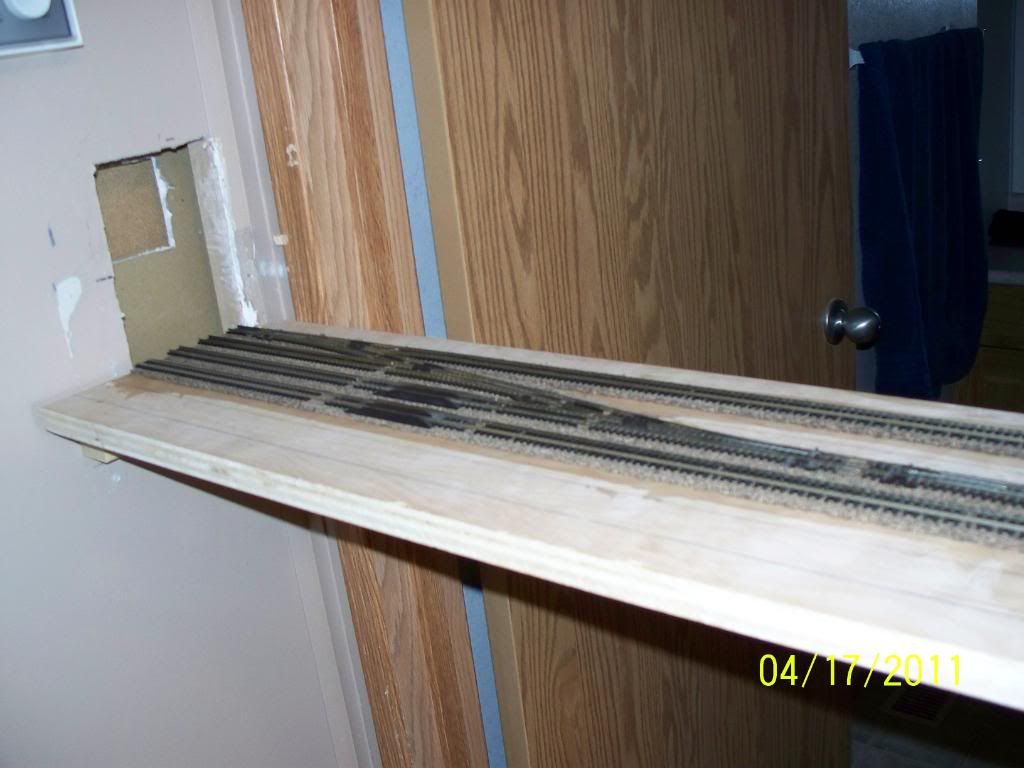
heres a couple more pictures
installed cardboard guards on the curves to keep any derails on the layout
and started to build the connecter that goes across the hall between rooms
trains let us dream big ina small space |
|
|
|
CNCPVIA
Brakeman

Canada
272 Posts |
Posted - 04/17/2011 : 17:18:01
|
My wife is totally scare now!!
I called her to have a look at your work. She is overwelmed by the bridge in front of the toilet room! 
The first thing she said looking at me was: NEVER !
All I wanted was to show her the great and rapid work you had perform in such a short period of time...
AH... women!  ... They understand nothing! ... They understand nothing! |
|
|
|
SD9043N
Passenger
165 Posts |
Posted - 04/19/2011 : 01:06:22
|
haha so true
might be why im still single
ahh well a boys gotta have his toys
trains let us dream big ina small space |
|
|
|
SD9043N
Passenger
165 Posts |
Posted - 04/19/2011 : 01:24:29
|
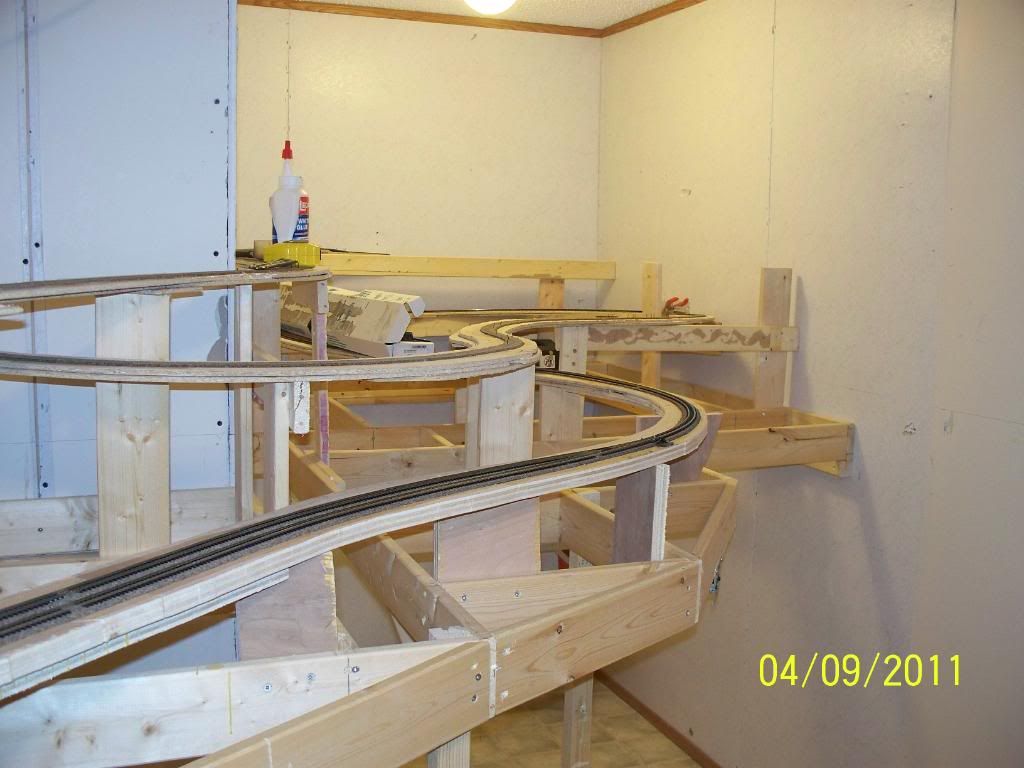
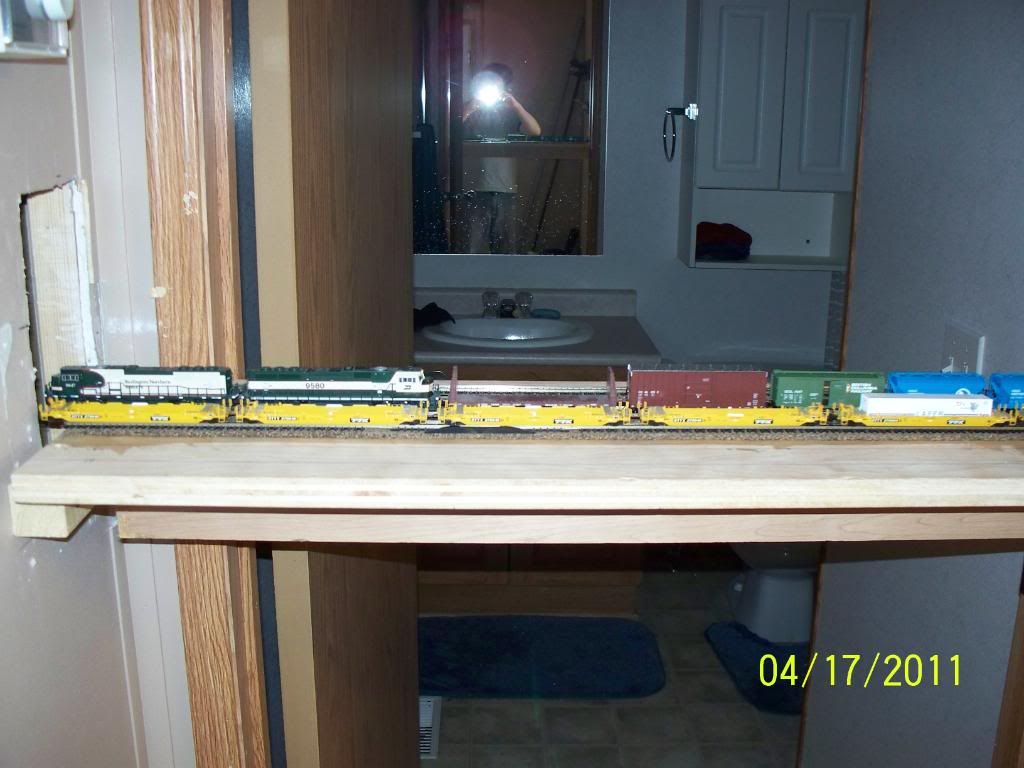
finished the track on the liftout section across the hall, there will be another on eventually for the second level here aswell, both going to the other bedroom which is to the left, still designing the track plan for that room, the room with the spiral tunnels in it will also house my HO layout once i move it in there and finish the benchwork on it
you can see the HO track on the very bottom of the tunnel benchwork, this is the return loop for continuous running
heres a couple pics, the lift out will also serve as the yard lead, drill track, mainline and passing siding
trains let us dream big ina small space |
Edited by - SD9043N on 04/19/2011 01:27:27 |
|
|
|
SD9043N
Passenger
165 Posts |
Posted - 04/19/2011 : 01:29:11
|
that completes the tunnel section until scenery, time to start the rest of the layout
ill post pictures as it goes together
keep everyone posted
trains let us dream big ina small space |
|
|
|
CNCPVIA
Brakeman
Canada
272 Posts |
Posted - 04/19/2011 : 09:03:04
|
HEY! 
There is a picture where you shot yourself with your camera in the mirror of the toilet room!
What I like the most of that picture, is to imagine someone that would be doing a #2 while watching is #1 train! 
Keep up with the hard work, it is well taking shape! |
|
|
|
UPBigBoy
Hobo
Canada
13 Posts |
Posted - 07/06/2012 : 18:21:18
|
It's been over a year since the last updates, would be nice to see how far you've progressed.
J&A Paint shops |
|
|
|
SD9043N
Passenger
165 Posts |
Posted - 07/16/2012 : 02:31:48
|
havent got much done, other then i changed my mind and kinda started over on the layout, redesigned my track plan to get more use out of the space, almost got my staging yard done, most of the track is laid down, started a bit of wiring this weekend, will post more as i get it done, busy at work so will be slow progress for awhile
adam
trains let us dream big ina small space |
|
|
|
da_kraut
Hobo
Canada
13 Posts |
Posted - 07/22/2012 : 23:18:02
|
Hello,
awesome work. I am getting a serious case of scale envy, being in HO rather then N. Keep the pictures coming, also from your changes.
Thank you
Frank |
|
|
|
SD9043N
Passenger
165 Posts |
Posted - 07/25/2012 : 05:26:41
|
got more track laid in the staging yard this week, will be 8 tracks each will hold a 30 to 40 car train with 2 or 3 engines depending on the car type, built a temporary return loop to test all the track wiring and switches once i m done, will hopefully post pictures when all the track and wiring is done
adam
trains let us dream big ina small space |
|
|
| |
Topic |
|
